

Key Takeaways
- The best way to add a blog to your Square site is with DropInBlog!
- The free trial and quick setup lets you to test it in a few minutes.
- DropInBlog has different pricing plans for individuals and teams.
There’s almost no need to discuss the great benefits of blogging on Square or any other platform. But just as a reminder, a well-organized blog with high-quality content is the core element of any content marketing strategy. It’s already helping many businesses achieve their objectives – why not yours?
A blog can help you reach a wider audience, show the human face of your company, educate users about your brand, increase your website traffic, and boost your conversion rates. There are thousands of benefits to creating one and hardly any drawbacks.
For this reason, this brief guide will walk you through the simple steps of creating one on Square.
Table of Contents
What Is Square?
In the finance industry, “Square” refers to multiple entities:
Square, Inc. was the name of the financial services company that became Block, Inc. in December 2021.
Today, Square is a renowned payment system and platform under Block, Inc.
Square is also an e-commerce solution, part of the Square platform, whose full name is Square Online.
Since Square Online is where you can build a blog, when we talk about Square in this guide, we’ll mean Square Online.
Square Online was a result of Square Inc.’s acquisition of Weebly, the famous website builder, in 2018. The company used Weebly’s technology to develop the Square Online builder.
Interestingly, even today, the Square Online builder continues to coexist with the Weebly builder. However, unlike the latter, its sole purpose is to enable users and business owners to create exclusively e-commerce websites and online stores.
Does Square Offer a Blog?
Yes, Square offers a blog, or more precisely, something similar to blogging functionality, called Stories.
To get a taste of the Square Online Stories:
Log in to your Square account and open your e-commerce website for editing in the Square Online builder.
Click the plus sign and then “Page.”
Click “Show more” if you don’t see “Stories overview” among the available page types.
Add a “Stories overview” page.
A brief explanation appears when you hover over the question mark, implying that the role of a story is approximately that of a blog post. As Square describes it, you can publish a story to:
Introduce your business to your audience.
Promote new sales items.
Keep your customers and visitors updated.
Work on other promotional objectives.
The Stories overview page contains links to your published individual stories or posts. You can customize the style of each story page separately, as well as the Stories overview page. In addition, Square Online allows you to optimize your Stories overview page for search engines (SEO) through the “Page settings” option.
Setting your SEO options right and allowing Google and other search engines to index your pages is vital. The Square Online SEO features are supposed to help you improve search engine rankings and climb higher on SERPs (search engine result pages).
However, these SEO features are as rudimentary as Square’s blog-like functionality. Adjusting a couple of basic SEO settings won’t get you very far. SEO is complex, so a tool that gives you feedback on your posts’ SEO performance and ensures you follow SEO best practices is a must today.
More precisely, a modern blogging solution with SEO functionality has to:
Be a feature-rich platform specialized for blogging and content marketing.
Be easy to get your head around and simple to use.
Meet today’s entrepreneurs’ design demands.
One such solution is DropInBlog. Let’s see how to create a blog on Square using DropInBlog.
Prerequisites
There’s only one prerequisite for adding DropInBlog to Square: a subscription to at least the Plus plan. This mid-tier Square pricing plan allows you to add an embed code section, which is a necessary step in the integration process.
If you’re wondering whether you also need a separate DropInBlog account beforehand, wonder no more: You don’t need it. As you’ll see in a minute, when you add DropInBlog from the Square App Marketplace for the first time, the blogging platform lets you create an account during the integration process.
It’s a free trial account, which is just enough to start loving how DropInBlog and Square work together. If you like what you’ve experienced by the end of the trial, you can choose between different DropInBlog subscriptions.
How to Create a Blog on Square
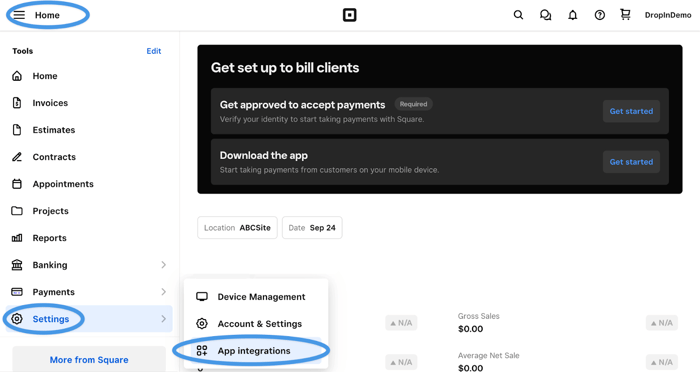
From the Home area of your Square dashboard, click Settings and then App integrations.
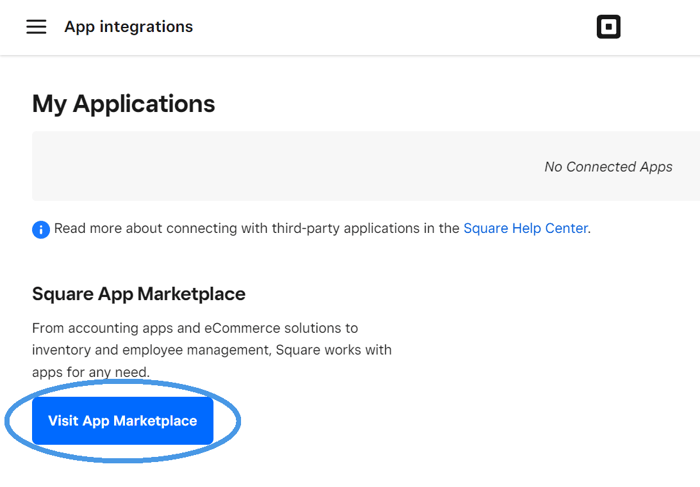
Now, click the big blue button Visit App Marketplace. Note that before you add DropInBlog, if it’s your first integration, you’ll see “No Connected Apps” under My Applications. We’ll change that in a jiffy.
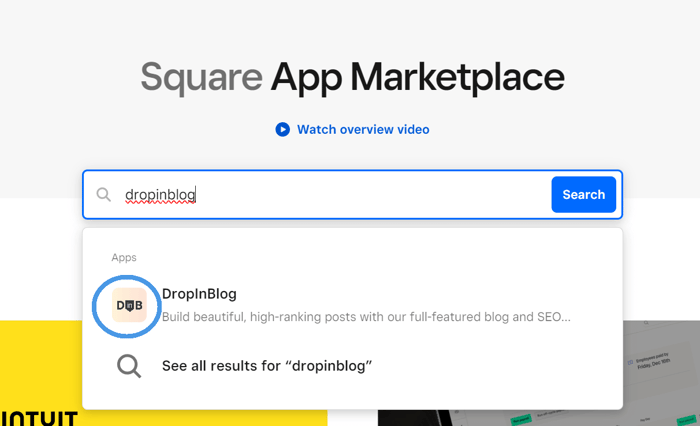
Clicking Visit App Marketplace opens another page in a new tab. In the search bar on the newly opened page, type in DropInBlog. Even before you finish typing, you’ll see the DropInBlog logo; click it.
That will take you to a page dedicated to the DropInBlog app. Now, click the blue Get Started button.

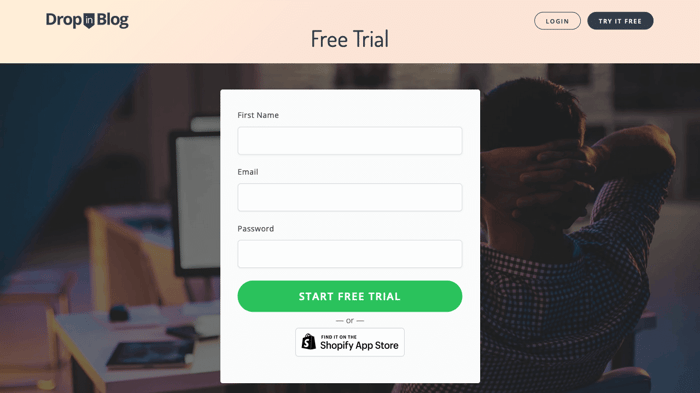
This step will lead you to the DropInBlog registration page. Enter your first name, email, and password in the form fields, and click the green Start Free Trial button. If you can’t see the button immediately on your screen, scroll a tiny bit down, and it’ll show up.
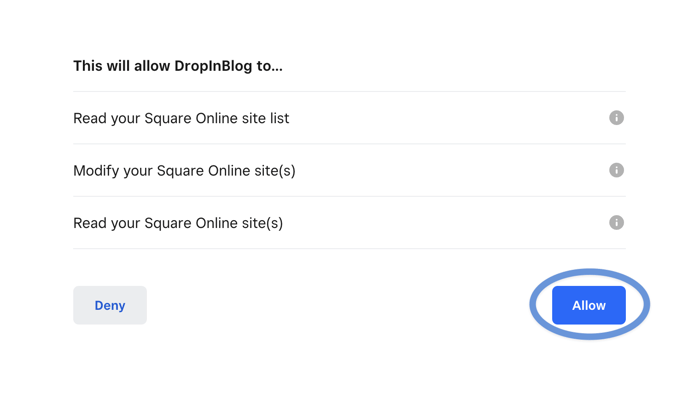
You’ll need to enter your Square login information once again. When you do that, you’ll see that DropInBlog requires reading and modifying permissions to continue the integration process. Click Allow.
Next, you’ll find yourself in DropInBlog. Click Add DropInBlog to choose the Square website where you want to install your blog.
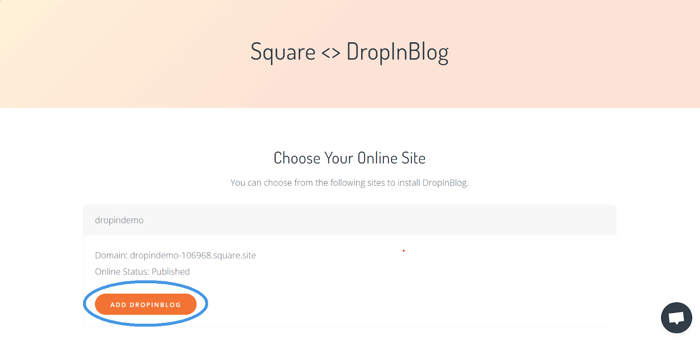
If you have more than one Square website, they’ll all show up here, so be careful to choose the one you want to connect with DropInBlog.
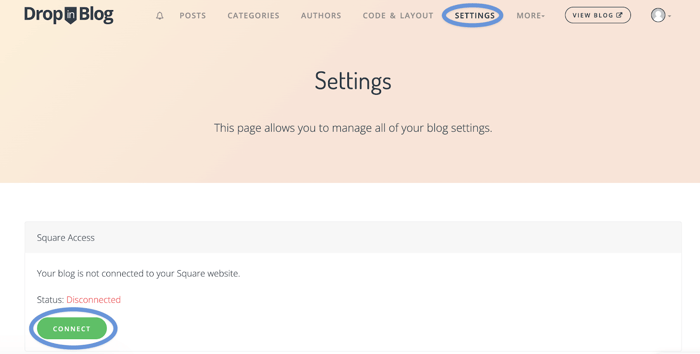
Now click Settings in the navigation menu and then click the green Connect button.
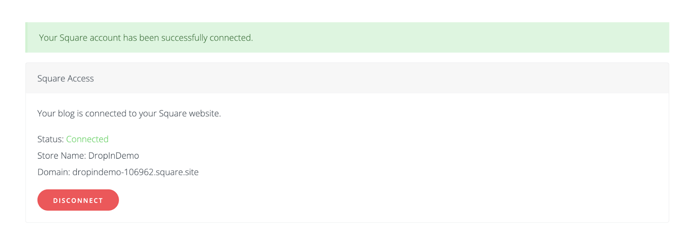
When you do that, you’ll see a confirmation that:
Your Square account has been successfully connected.
Your blog is connected to your Square website.
A change in status from Disconnected to Connected.
Head back to your Square dashboard. Click More Tools and Online under Sales Channels.
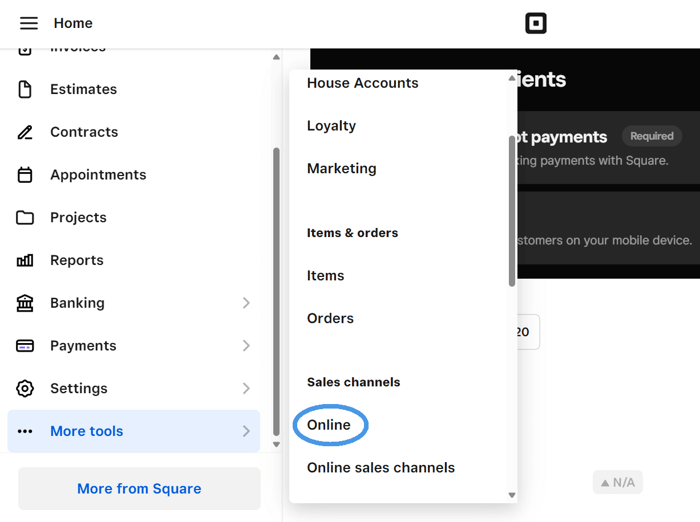
Don’t get confused if your Square dashboard doesn’t look exactly like the image above. It’s customizable, and its look can vary. The most important thing is to find and click Online because that’s how you open Square Online.
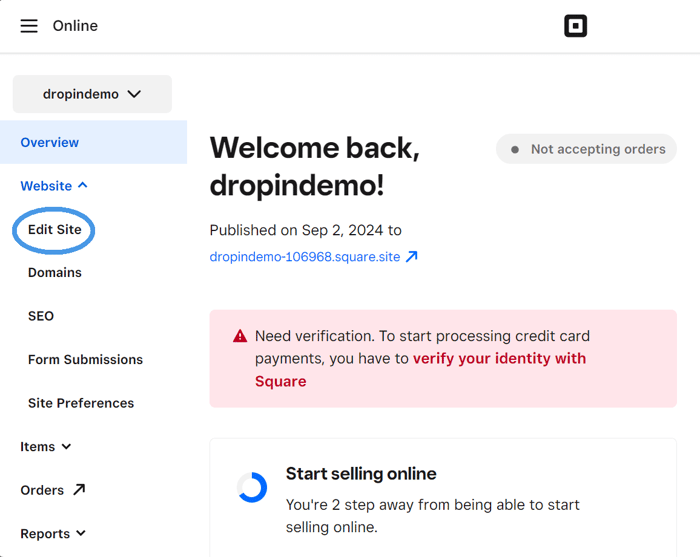
When you open Square Online, click Website and select Edit Site.
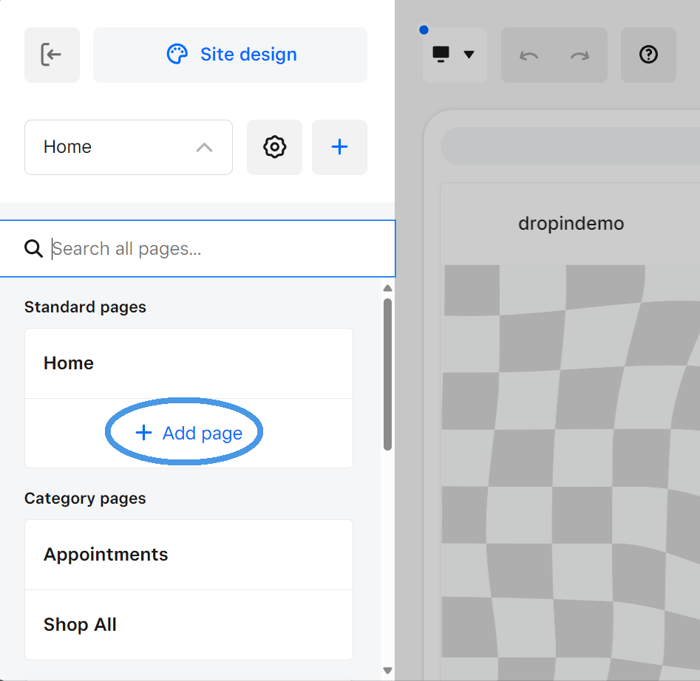
Now, in the Square Online editor, click Home and Add page.
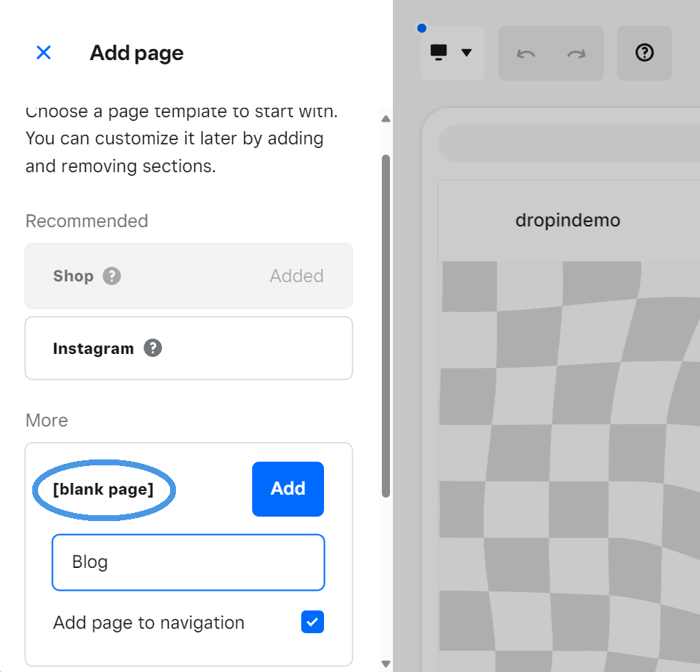
Since we’re adding a blog, we want a separate, dedicated blog page. Click [blank page] and give your blog page a suitable name. We’ll call ours Blog. Tick the Add page to navigation box and click Add.
Next, select your Blog page.
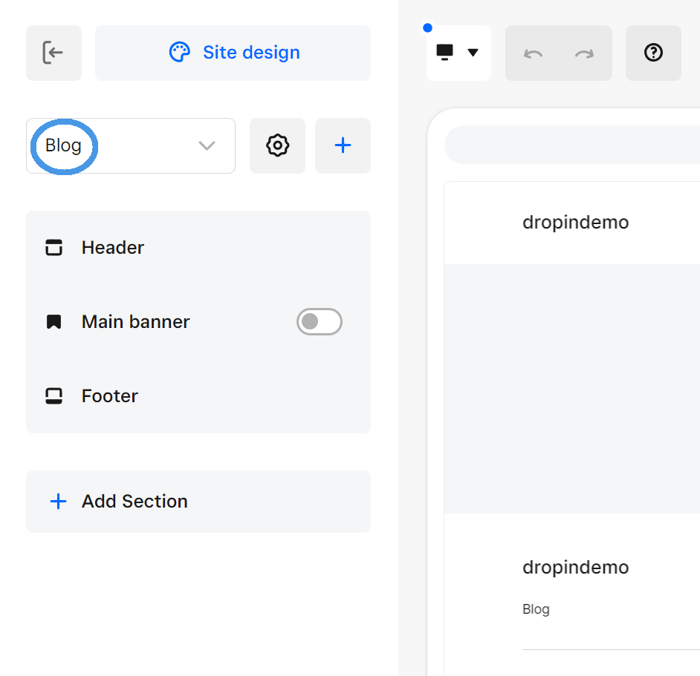
Click Add Section.
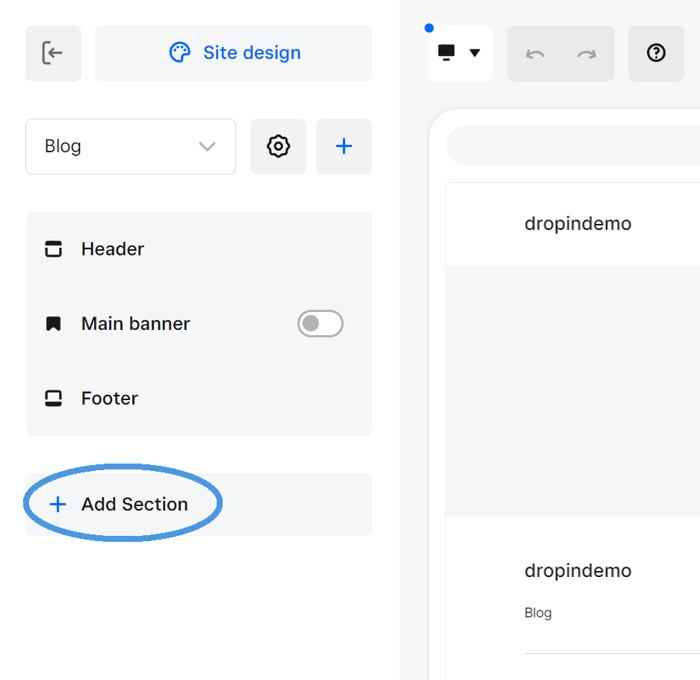
Scroll down until you see Embed code.
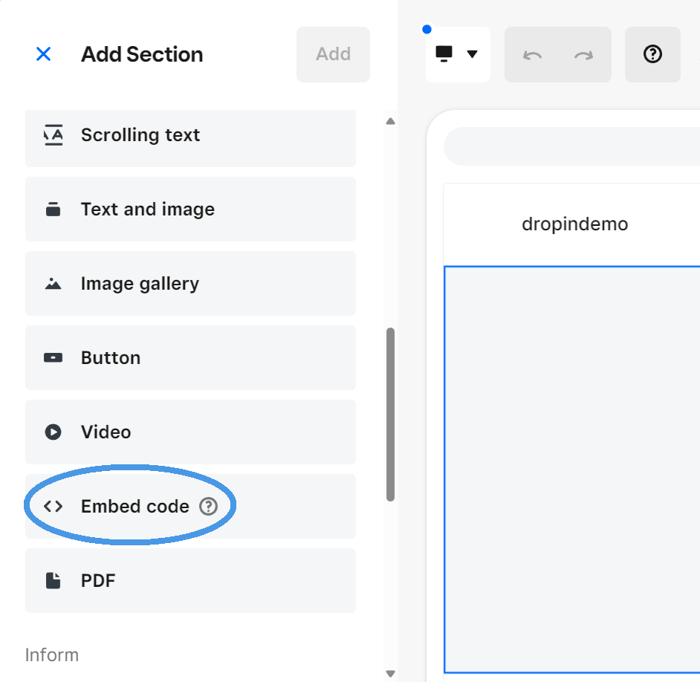
Click it and choose one of the three section layouts.
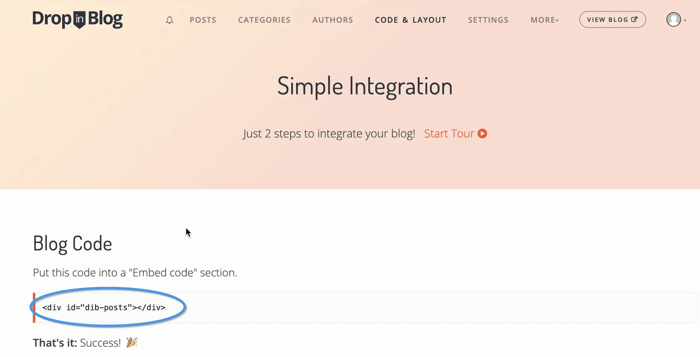
Now, head over to DropInBlog again. Click Code & Layout in the navigation menu and copy the code under Blog Code.
Head back to the Square Online editor and click inside the new page section you added. Paste the code you copied in the text area, that is, the box under Code.
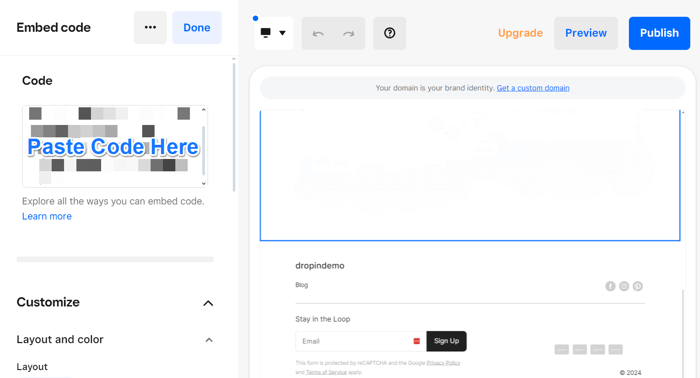
Click Done, then click Publish.
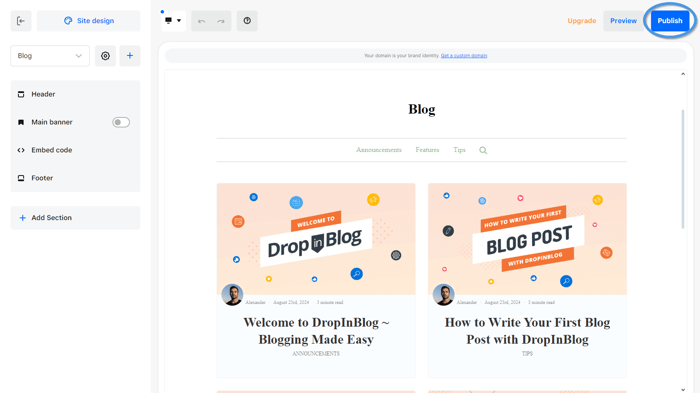
You’ll see a popup window telling you that your site has been published and showing you the domain where it’s been published. Click on the link to view your site.
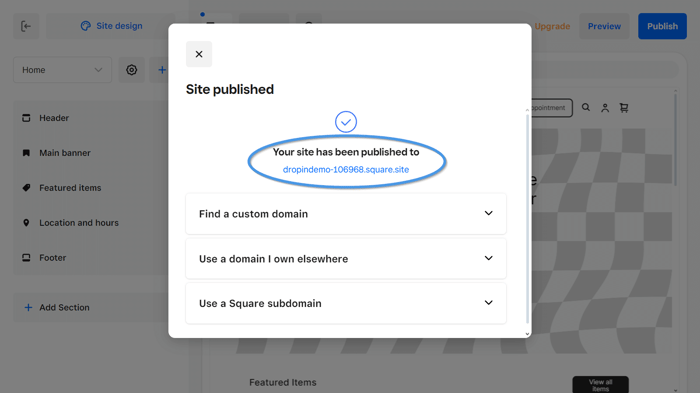
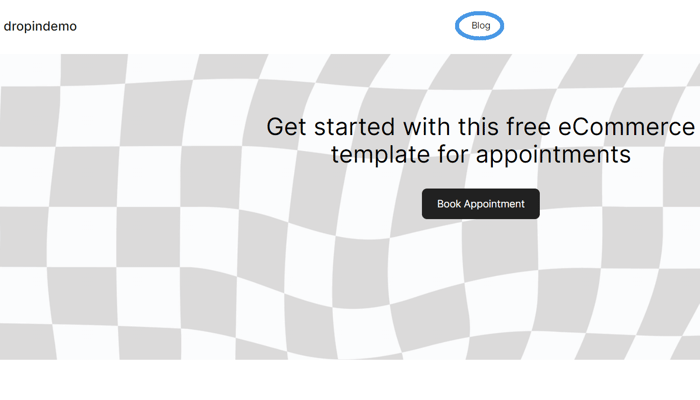
When you click the domain, you’ll see what your website looks like to your visitors. Click Blog in the navigation menu to check out your blog.
Last but not least, to access your DropInBlog account directly from Square, click Settings in your Square dashboard and then App Integrations. Clicking Visit will take you to the Blog Posts page of your admin area, where you can manage your existing blog posts or add new ones.

It’s Worth Noting
Now that you have created a blog on Square, there’s much more you can do in DropInBlog to make blogging even more awesome and convenient.
DropInBlog lets you:
Create blog categories.
Include multiple authors.
Customize the design of your blog.
Add automations.
Connect Google Analytics to DropInBlog.
Optimize your blog posts for search engines with the SEO Analyzer.
This list is not complete. So, feel free to explore DropInBlog and make the most of what it offers.
FAQs
Does DropInBlog on Square get indexed by Google?
Yes, blog posts made on your DropInBlog account are indexed by Google, and all traffic is linked to your site. You can also make use of the SEO Analyzer tool to optimize your posts further to get the best rankings possible.
Can I set up DropInBlog on Square?
You can, and it’s very easy to do. Just follow our guide!
Thank You, and Happy Blogging!
We’re at the end of our guide on creating a blog on Square with DropInBlog. Thank you for sticking with us until the end – we hope you enjoyed the journey. If you’d like to ask us anything, don’t hesitate – we’re always here for you. Happy blogging, and all the best with your online venture!


