
Using the Smart Snippets™ feature, you can easily display a single piece of content anywhere on your blog. You can also make global changes to these reusable content blocks by updating them in a single place and seeing the changes across all of their instances.
The Smart Snippets™ editor supports the Editor View, which lets you add call-to-action buttons, image banners, and promotional videos, while the editor’s Code View lets you embed code from third-party apps.
Let us show you how this feature works.
Table of Contents
What Is a Smart Snippet Anyway?
A Smart Snippet is a piece of content you can create and quickly add to some or all of your existing blog posts.
In other words, you can create a single piece of content – be it a call-to-action button, an image, a video, or a newsletter signup form – and specify where on your blog posts it should automatically appear. The benefit of doing this? You don’t have to create the same content over and over again! Smart, right?
Do I Really Need Smart Snippets™?
Most likely – yes! Let’s say you’re having a sale on your site. In order to announce this to your readers, you would have to add a banner to every post where you want your visitors to see this special deal. Without the Smart Snippets™ feature, you’d need to copy and paste the same information into all these places.
Let’s go a step further and say that one week into the sale, you want to alter the promotion a bit. Just imagine how many times you would have to open a post, add this info, save the changes, and then do it all again once the sale is over. Sounds like a lot of work? Well, it is.
Luckily, you now have Smart Snippets™ that allow you to change that same sales banner in a single place and update the information instantly across your DropInBlog posts – minus all of the tedious work.
Another scenario in which the Smart Snippets™ feature can come in handy is when you want to collect user data. Whether you have a Mailchimp or any other newsletter signup form, or you want to ask for feedback from your readers with OptinMonster forms, you can use Smart Snippets™ to add code from third-party apps.
Want to promote your store’s big sale at the end of your blog posts? Sure thing! Are you launching a new course? Just select the posts where you want to spread the word about it! Building your email list? Create a smart snippet and display your newsletter signup form wherever you want on your blog!
Who Should Use Smart Snippets™?
Anyone can use Smart Snippets™. To put this feature to use, you just need any type of content that you’d like to appear in multiple places on your blog. The feature was designed to eliminate the need to add (and edit!) the same content to more than one place (forget about copy-pasting).
How Difficult Is It to Create a Smart Snippet?
It’s not difficult at all! We made it possible for you to create smart snippets within an editor that has the same look and feel as the DropInBlog post editor. So, if you’ve created a blog post before, you’ll have no trouble creating smart snippets.
How Do I Create a Smart Snippet?
You can access the Smart Snippet editor from your DropInBlog admin dashboard.
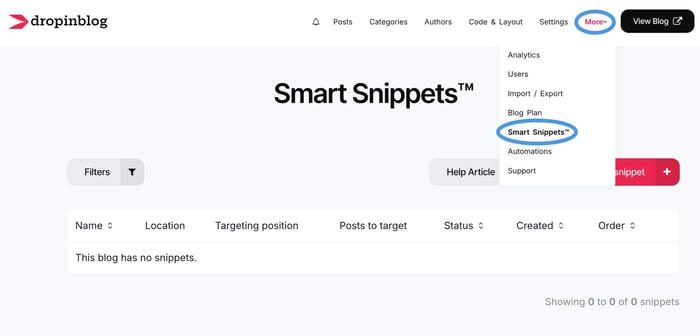
Click on the More tab from the top navigation menu and select Smart Snippets™.
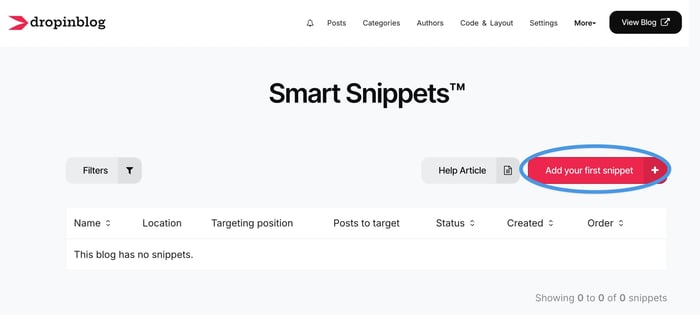
This will take you to a page where you can manage your snippets. Since this is the first one you’re creating, click on the Add your first snippet button.
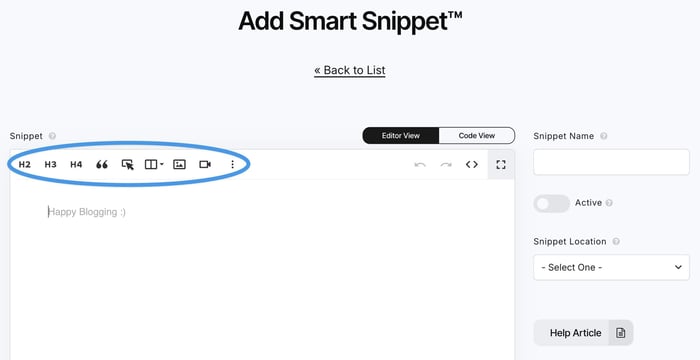
This will open the Smart Snippet editor, where you can paste any third-party code (an email signup form, for example) using the Code View.
Or you can switch to the Editor View and create your own snippet. To add text, just start typing inside the content area. Or you can add a video, image, or CTA button.
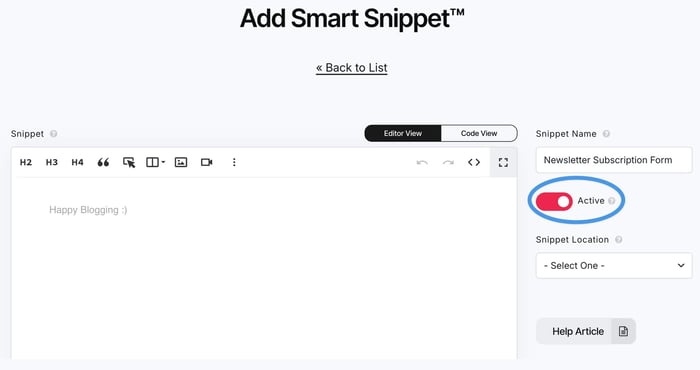
Once you’re done, add a name to your snippet on the right side of the screen.
Next, toggle the switch below the snippet name to activate your snippet.
The final step is to decide where you want your snippet to show. You can control these settings from the drop-down menu on the right.
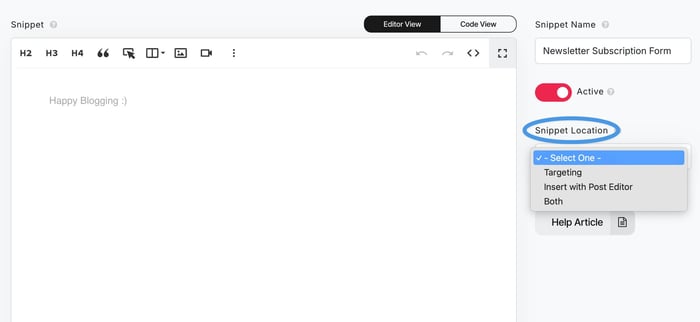
You’ll see three options:
Targeting – automatically adds the snippet to a specific location inside a chosen group of posts (like in a particular blog category, for example).
Insert with Post Editor – allows you to manually add the snippet wherever you like within individual posts using the post content editor (similarly to how you add e-commerce products to your blog posts).
Both – automatically adds your snippet based on your selected targeting choices and allows you to add it yourself in the post editor.
In addition to the standard targeting options, you can also use the target element option. This option is part of the Advanced Smart Snippets™ feature, which allows you to fine-tune the position of your reusable content blocks (available only on the Business and Enterprise plans).
Once you’re happy with your smart snippet and have decided where you’d like it to display, just click the Save button near the bottom of the page.
That’s all there is to it.
Create your first smart snippet now!
For more information on the specific mechanics of creating snippets and your targeting options, check out the Smart Snippets™ support doc.
The DropInBlog Team Is Here to Help
If you have any questions about the Smart Snippets™ feature, drop us a line.
Happy blogging!


