
Carrd is a creative page and site builder, known for its simplicity. It’s ideal for small businesses or for building a profile site, a resource page, an opt-in form, a landing page, or similar.
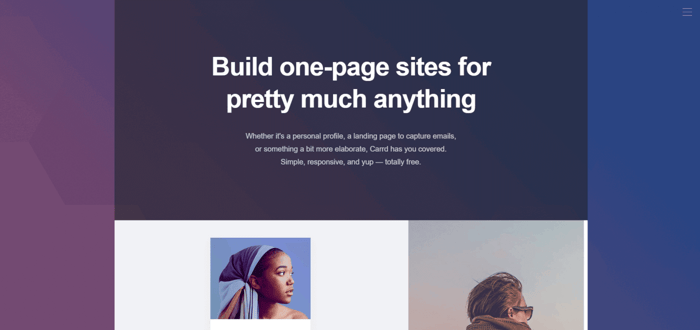
I’m here to show you how you can use Carrd to create a simple and sleek website – along with a few tricks! Before I do, let’s look at the improvements Carrd has made so far this year.
Table of Contents
- What’s New in Carrd (2026)
- Before You Start Building Your Website
- Step 1: Choose Whether to Sign Up for a Carrd Account
- Step 3: Customize Your Template
- Step 4: Publish Your New Carrd Site
- Step 5: Optimize Your Carrd Website for Mobile Devices
- Bonus Tips: Make Your Carrd Site SEO-Friendly
- What You Can Do with Carrd + DropInBlog
- FAQs
- The End Result – Our Published Carrd Site
What’s New in Carrd (2026)
In the first two months of 2026, much of Carrd’s attention went to adding new spam and bot protection services to forms. They’ve also introduced several new site templates and added a few new patterns (including animated string lights).
What hasn’t changed is that the blogging functionality still isn’t natively supported, meaning that if you want to add a blog to your site, you’ll need to use templates and third-party solutions.
On the bright side, another thing that hasn’t changed (and we wouldn’t want it to change) is Carrd’s objective to help you make simple yet fast sites. Let’s go and create one!
Before You Start Building Your Website
If you plan on using your Carrd site for business purposes, it’s best to use a custom domain, which you can obtain from domain registrars like Cloudflare and Hover. You can expect to pay between $10 and $20 per year for your domain name.
However, if you want to start a website just to see how it works, you don’t need a custom domain name. You can use a free subdomain from Carrd.
What I’m Building
In this guide, I’ll build a simple website with a pre-made sectioned template. Using sections, I’ll be able to emulate traditional website builders that use a new page for each content area. So, in this case, I’ll create four sections that will mimic four separate pages.
In the end, our Carrd website will have the following sections:
Homepage
Blog Examples
About
Contact
All of them will be created on a single page, since with Carrd you can only create one-page sites. However, by using sections, I’ll create a multi-page experience on my one-pager.
Step 1: Choose Whether to Sign Up for a Carrd Account
When you’re starting out with Carrd, there are two options available:
Sign up right away.
Start experimenting and sign up later.
Choosing the latter would mean that you can start building your Carrd website immediately by choosing one of the templates or selecting a blank canvas. This option allows you to try out different things to just get a general idea about the platform without creating an account or leaving any personal information.
However, if you want to save any changes you make, you’ll have to sign up eventually. Since you’ll probably want to save your site, I suggest signing up for an account right away.
To check out some of the more advanced features, start with the seven-day trial. It’ll let you test-drive the top Pro features without a credit card.
Whatever you decide, the first step towards building an awesome site is its visual aspect, which is why I’ll start with Carrd’s templates.
The second step towards building an awesome website is adding a blog – something you can’t do with Carrd. This is, however, deliberate and in line with Carrd’s one-page philosophy, which obviously excludes blogs. So, if you want to add a blog to your Carrd website without workarounds, you’ll need a purpose-built app for this task.
DropInBlog is one such app, and it perfectly complements Carrd’s strengths. It’s easy to install and use, and it lets you easily add an SEO-friendly blog to your site. To learn how, read our integration guide.
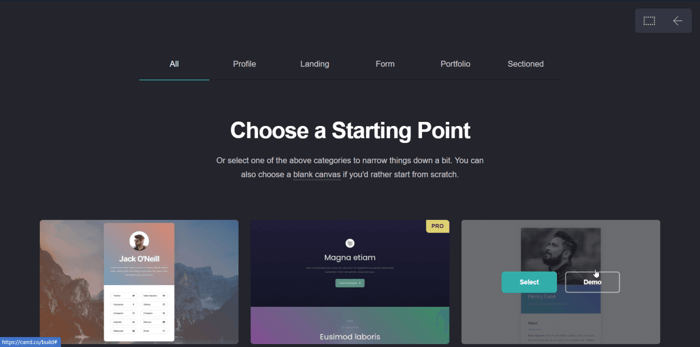
Step 2. Select a Template or Start from Scratch
Carrd offers roughly 250 responsive and customizable templates. They’re well-designed and simple, and based on what I’ve seen in their changelog, they add 3–4 new ones each month. Depending on what you’re building, you can choose from five categories: profile site, landing page, form, portfolio site, and sectioned site templates.

However, you’re not limited to the pre-designed templates. You can start building your site from scratch. This is what a Carrd blank canvas looks like:
Since I’m not a designer, I personally wouldn’t go with the blank canvas. Instead, here I’ll choose one of the sectioned templates.
Carrd is a single-page site builder, but there’s a workaround to bypass this limitation. The sectioned templates let you create a site with the look and feel of a multi-page website. In reality, it only simulates a multi-page website. This effect is achieved by having multiple sections that are hidden and only show up when a user clicks different buttons.
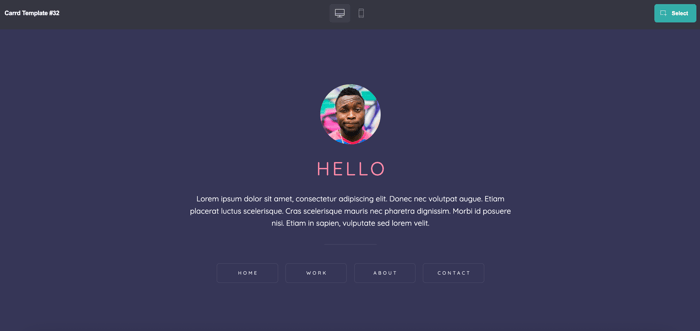
Now, I’m going to use one of these sectioned templates, No. 32, to show you how to make a good Carrd website. I’ve chosen this template because it has a minimal design and a lot of free space, which draws attention to the actual content. This is how it looked at the beginning:
And this is how it looks live with all the customizations I’ve made:
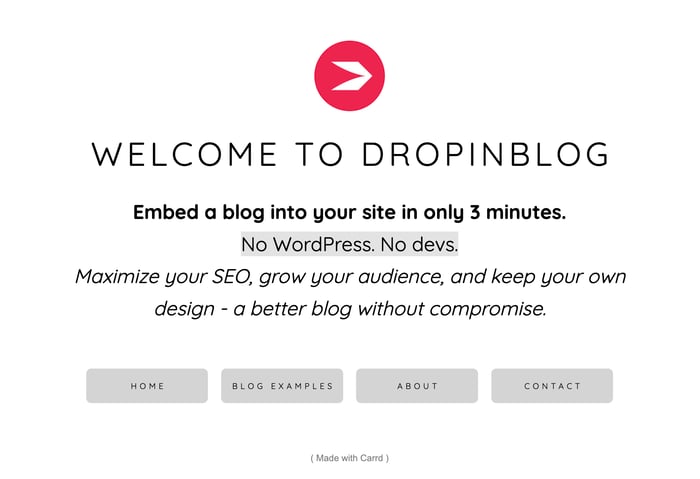
It’s really simple and elegant, and it has a great vibe to it. Now let me show you how I got there.
Step 3: Customize Your Template
The Carrd templates look excellent out of the box and can be used as they are. Nothing prevents you from just adding images, videos, and text and publishing.
However, it’s always a good idea to make your site stand out by turning the template of your choice into something more in line with your branding. This will require time, but it’s worth the effort.
Familiarize Yourself with the Carrd Editor
Carrd offers a drag-and-drop editor that’s super easy to use. It provides you with the usual drag-and-drop editor functions and then some. It also has some limitations common with this type of editor, like elements being locked inside sections.
This prevents you from moving them around and placing them precisely where you want them on the page, but you can nonetheless customize your site to a great extent.
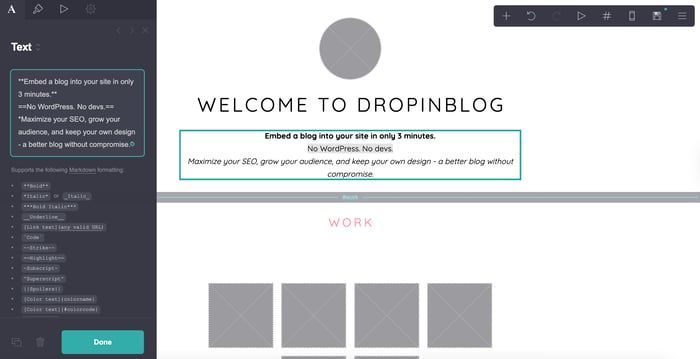
Edit the Template Text
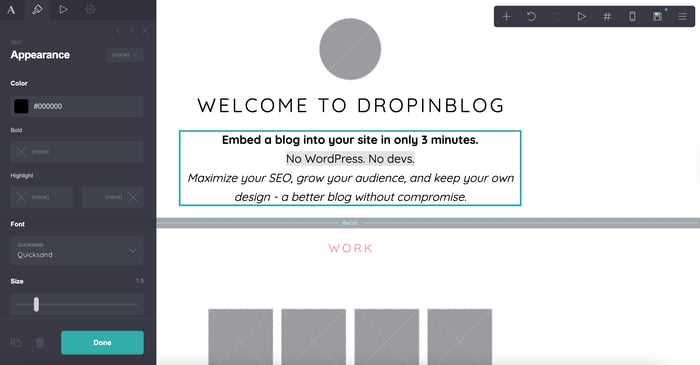
You start tweaking the site by clicking on the element you want to modify. For example, when you click on a text box, a panel shows up on your left side. Carrd supports Markdown, so you can edit the existing text and make it bold or italic, underline the text, etc.
Let’s replace the placeholders with a title and text of our own. I’ll add some bold text, italics, and some code text to it to make it stand out. While I’m at it, I’ll also change the background color for better contrast, but more on backgrounds later.
By clicking on the brush in the upper left corner, you get access to other properties of the text you’re customizing: color, font, size, weight, line spacing, letter spacing, margins, alignment, and drop shadow.
In addition to this, you can make specific changes to the mobile version of your site. Carrd allows you to manually change the size, line spacing, letter spacing, and margins of the text on the mobile version, or you can just leave it on auto and stick to the default Carrd values.
Let’s increase the size of the text, line spacing, and letter spacing to make the text easier to read. I’ll leave everything else as it is:
The last icon at the top of the left sidebar, Settings, opens up custom styles and more advanced customization. You can write different CSS rules for your website’s desktop and mobile versions, but this is only available with a Pro subscription.
Upload and Edit Your Images
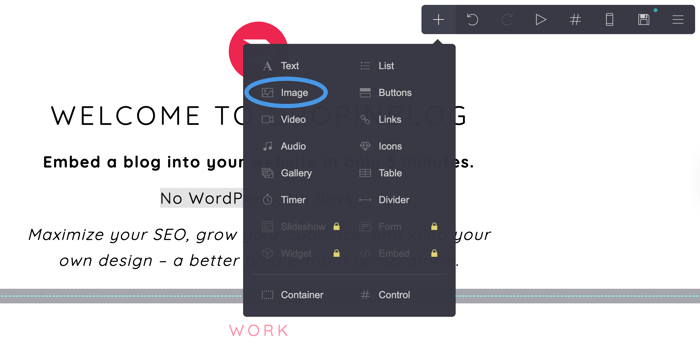
If you want to upload a picture, just click on the space allocated for an image. Or if you want to add another one, click on the plus sign in the upper-right menu and select the image element.
After you’ve clicked and uploaded a picture, you can write alt text for your pic and add a URL of any type.
Despite being optional, don’t leave the “Alt Text” field empty. Adding alt text is very important for a few reasons:
It’s a description of your image that is shown if, for any reason, the image can’t be loaded.
It increases accessibility for visually impaired people.
It’s good from an SEO standpoint because it helps search engines identify what’s in the picture.
![]()
Here, I’ll leave the link field empty, and I’ll keep the “Defer loading” option checked, as Carrd recommends it. This is good for page load times, which need to be as quick as possible, especially on landing pages. Slow page loads discourage people from taking any action and contribute to visitors leaving sites.
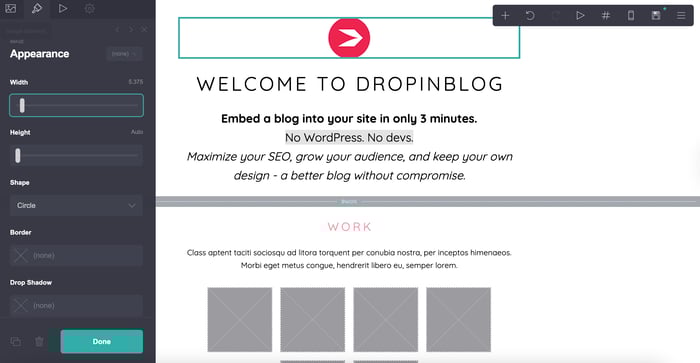
You can use the brush icon to change the appearance of the image. Carrd allows you to change the width, height, shape, and margins. You can modify the same properties for the mobile version, except shape. I’ll only change the width to make my logo a bit smaller here, since I don’t want it to take too much focus away from the text.
Lastly, the settings icon lets you add custom styles and do some extra customization by playing around with unique element IDs, additional classes, and more attributes. Still, I want to create a simple website, so I won’t be exploring these advanced options.
Edit Your Site’s Background
In Carrd, you can use colors, gradients, images, videos, or slideshows for your site’s background. Click anywhere on the background to access these settings. Here’s a little tip: to find the background element more easily, click on the blank space to the left or right of the content area.
On top of the option you choose, you can add a pattern, which you’ll find under the Style section. These are basically different types of grids and lines:
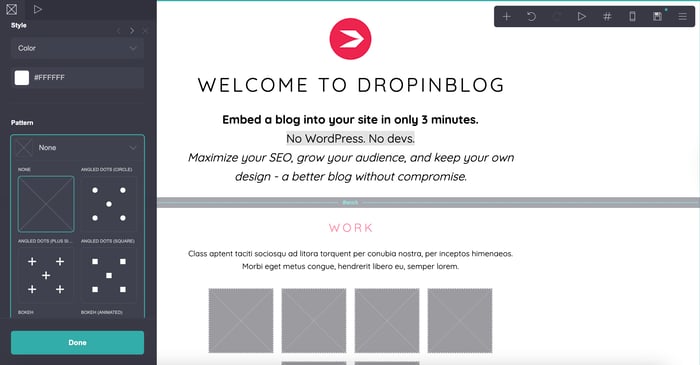
Here, I won’t use any patterns, and I’ll keep the background style on the “Color” option. As mentioned earlier, I’ve changed the background to improve contrast between the few colors I’ve used for my Carrd site. Here’s why I did that:
High contrast helps users easily distinguish text from the background.
Using fewer colors on your site (2–3) reduces visual noise and gives your site a more professional look.
If you want to change the background color of your site, simply click the color code under Color, then either select a color manually or enter a hex code.
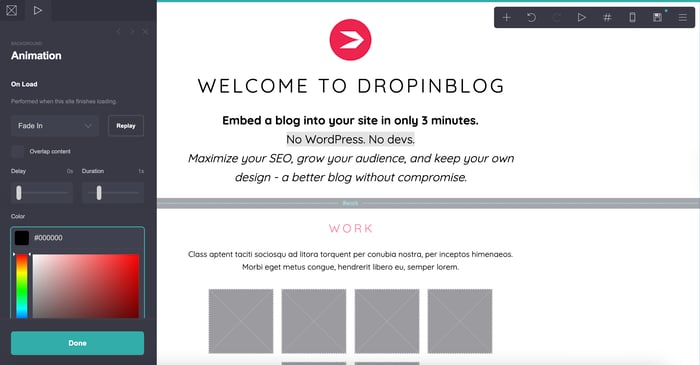
A cool thing that Carrd lets you do is add animations, like a fade-in effect, to your background. You can do that by clicking the second icon in the upper left corner (the “play” button).
Edit Your Pages
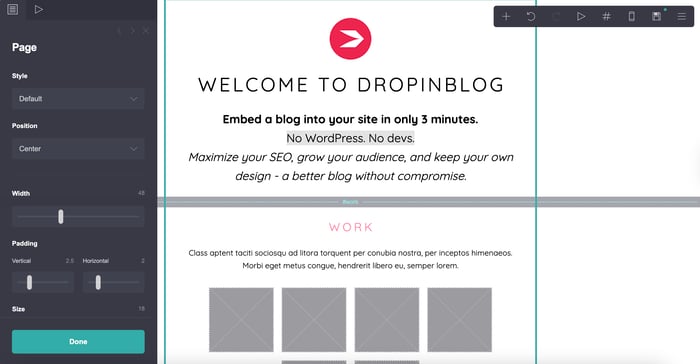
You can modify the layout of the page by moving sections around and experimenting with positioning, alignment, colors, borders, drop shadow, and more. You can reach the page editing menu by clicking anywhere outside a text or image block. Do stay within sections, or you’ll open the background settings.
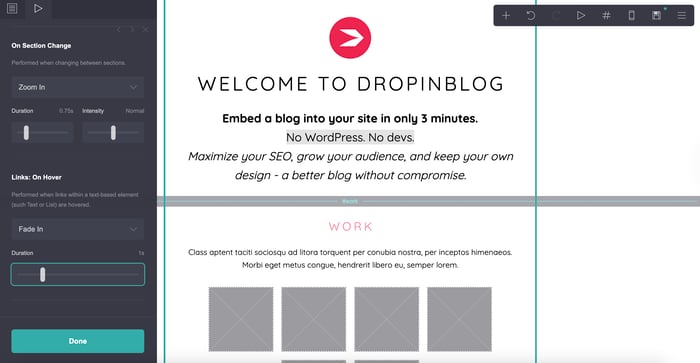
Here, you can add animation as well. There are four available options – you can add animation to:
Page load
Element load
Section change
Link hover
I’ll add a zoom-in effect on section change to emphasize the transition:
The part of the site I’ve edited so far corresponds to the homepage of a proper multi-page website. Now, let’s modify the other sections.
Add a New Section
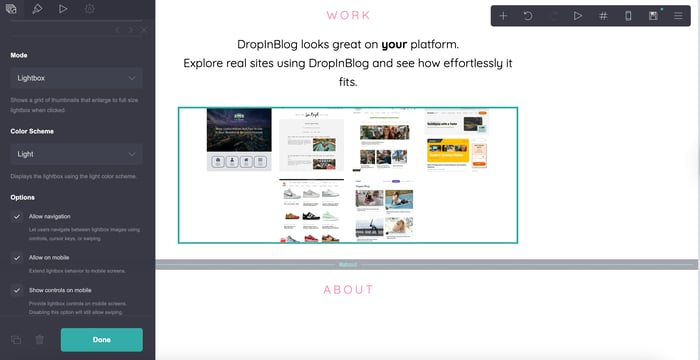
In this section, I’ll add a gallery with six images. You don’t have to use the same element, though. If you think it makes more sense for your site to have another page with text and images, add them.
At this point in our Carrd tutorial, I want to show you how to create that multi-page effect. So, I’ll go ahead and change the default name “Work.”
To change the section’s name, you have to rename the section break. To do this, you just need to click on the part between the two sections to make modifications. I’m changing mine from “#work” to “#blog-examples.”
The “Name” field in the left panel actually functions as a URL link, and it is thanks to this function that Carrd can simulate a multi-page website.
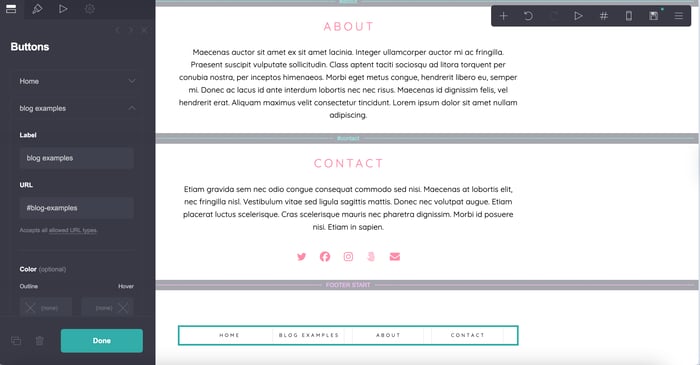
When you change the section break, you also need to change the name and the link of the button in the footer. So, when someone clicks the button, it’ll lead to my “Blog examples” section, leaving the impression of going to another page of the same site.
Your site visitors will also like this, since all content on your site loads almost immediately.
You’re done with the second section. Let’s move on and create the “About” section.
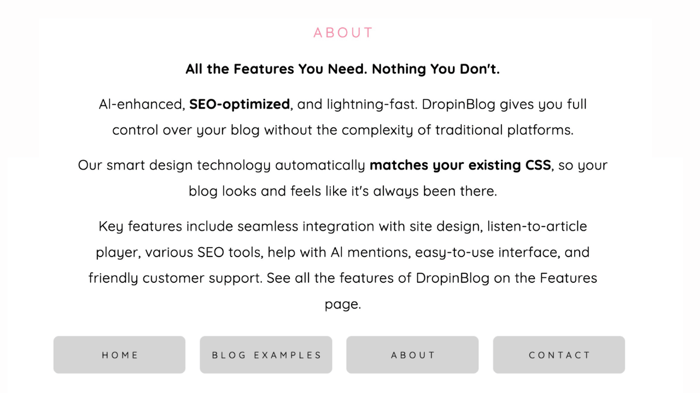
Write the About Section
The process here is pretty much the same. I’ll go ahead and make some changes to the text itself to inform people about what DropInBlog is, since that’s what my site is about. And here’s the result:

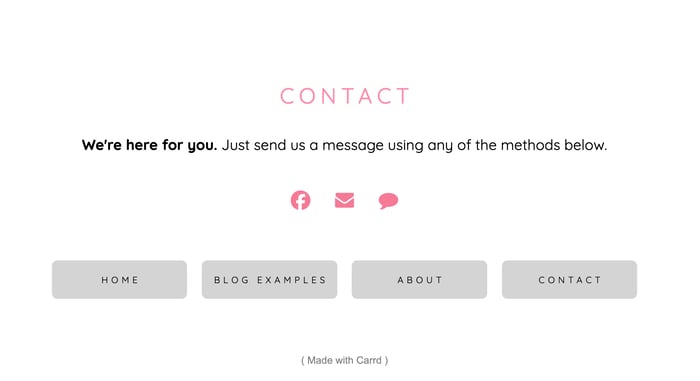
Add Your Contact Information
In the content section, I’ll write my own short text, remove the icons of 500px, Instagram, and X, and add Octocat (the GitHub logo).
So, let’s click on the 500px icon, find the bin symbol, click on it, and remove 500px. It’s the same procedure for the X and Instagram icons.
Then I’ll click on “Add,” and in the “Type” field, I’ll search for what I need, in this case, GitHub. When you add a new icon, you need to specify a URL. So, you need to include your full email address, as well as the URLs of your Facebook profile, GitHub, and similar.
Here, I’ll also add a hover effect. When the pointer hovers over an icon, the color of the icon will change to a shade of red:
![]()
Edit Your Site’s Footer
The first thing I’ll do in this section is make the divider a little bit wider. I’ll keep the default values for the style, orientation, color, thickness, margins, alignment, and mobile version of the site.
I’ll also adjust the text weight in the buttons and change the style from outline to solid. You can do this by clicking on the brush icon at the top left. Let’s see the result:
![]()
You’re almost done. Let’s just take a look at a few more things.
Use Carrd’s Instructions for Help
When you’re building a site from a template, Carrd gives you simple and clear instructions on the user interface. This makes the whole process even easier:
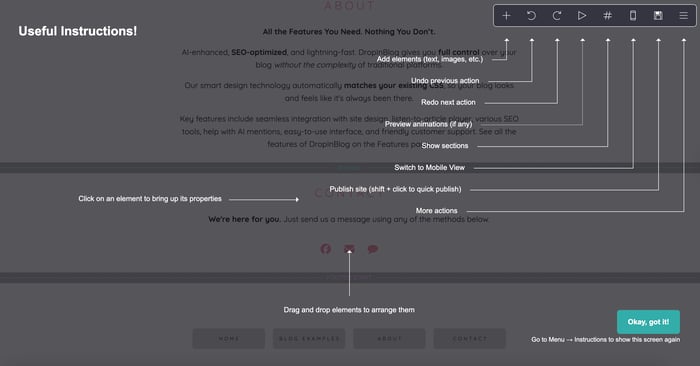
If you get stuck along the way and you need a reminder, just click on the last “More Actions” icon, and it’ll lead you to the instructions.
Keep in mind that a click on the first “Add elements” icon from the menu gives you a lot more options than the instructions suggest. You can add text, lists, images, buttons, videos, links, audio, icons, galleries, tables, timers, and dividers.
On top of this, with a Pro subscription, Carrd lets you include slideshows, forms, widgets, and embed codes.
The last option, embed codes, means that you can add lines of code from other sites to your Carrd site code. You won’t use this option much, but you’ll need it to add a blog or a third-party widget to your Carrd site.
Step 4: Publish Your New Carrd Site
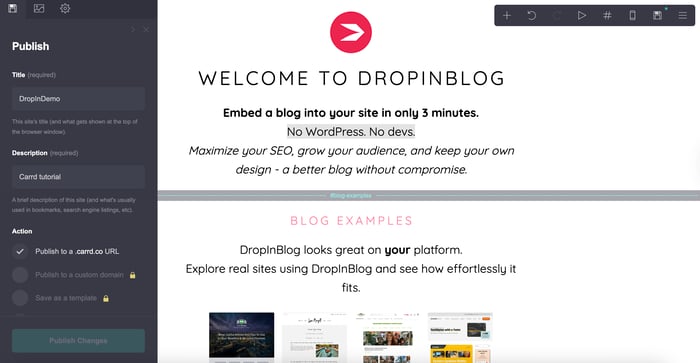
The last step in this Carrd tutorial is to save the changes and publish my site.
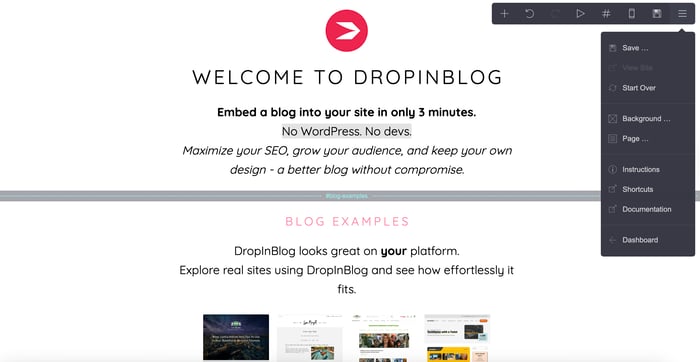
Let’s move to the Save icon in the upper-right corner and click on it. Here, you’ll need to add a title, description, and publishing preferences. If you don’t want to publish your site right away, you can always save the changes and postpone publishing until you’re ready.
If you choose to publish, you’ll get these two options:
1) publish to a custom domain
2) publish to a carrd.co URL
The first option is available only if you have a Pro subscription or if you sign up for the free trial.
There are also two options if you only want to save the changes instead. You can save it as a template or an offline draft. Here again, the first option is only possible with a Pro subscription.
With a Pro plan, you’ll also be able to use:
A “share image” that people see when someone shares your site on social media
A favicon
Meta tags for better SEO
A password
Google Analytics
Lastly, you can set the update frequency for your site and choose the main language.
Here, I’m going to leave the language to the default English and publish the site to a carrd.co URL.
Step 5: Optimize Your Carrd Website for Mobile Devices
Carrd automatically optimizes the appearance of page elements for mobile devices, and the sites do look good for the most part. However, sometimes some elements may look a little off, or maybe you just want to tweak the template just a little.
Here’s what you need to do:
Switch the builder to “Mobile View.”
Select the site element you want to customize and click “Appearance.”
Find the “Mobile” toggle located towards the bottom of the panel.
Switch the toggle from “Auto” to “Manual,” and you’ll see some additional customization settings appearing.
If you ever want to undo the changes, just switch it back from “Manual” to “Auto.”
Bonus Tips: Make Your Carrd Site SEO-Friendly
Optimizing your site for mobile devices is just one factor that affects your site’s search engine visibility. Here are a few more suggestions that can improve your site’s ranking:
Add meta titles and descriptions to your pages: These meta tags appear in SERP and influence a user’s decision to open your page. Add them to your site by going to Publish this site → Settings → Meta tags.
Add alt text for all images: Alt text is read to visitors who use screen readers, it appears when your images don’t load, and it explains the contents of your images to search engines. You’ll find this field on the left side of the editor upon clicking on an image.
Defer loading for faster page speed: For your site’s images and galleries, you should use the “defer loading” option in Carrd, which loads your media only when a user gets to the part of your site that has these files. To enable this option in Carrd, click on a media file, then check the box next to “Defer loading” on the left-hand side of the editor.
Use schema markup: To prepare your content for rich results and help search engines better understand it, you need to add schema markup to your Carrd site. This process is manual for the most part, with the exception of blogs created with DropInBlog, for which the schema data is automatically added.
Start a blog: With blogs, you can write about the phrases you want to show up in Google for and attract more visitors to your site. Although Carrd is missing a native blogging tool, you can easily integrate your site with third-party blogging solutions.
What You Can Do with Carrd + DropInBlog
If you want to add a blog to your Carrd site, you can do so easily with DropInBlog – a dedicated blogging tool.
By integrating DropInBlog with your Carrd site, you can:
Add a full-featured blog in 60 seconds – just add two code snippets to your Carrd site and your blog will go live.
Optimize your content for search engines: DropInBlog’s SEO Analyzer keeps track of your keywords, title, and meta tags. The blogging platform also supports schema markup, automatically adding it to all your content.
Turn posts into podcasts: Blog Voice AI™ converts your written content into audio files. Your readers can listen to your blog at any time.
Make your blog AI-search-friendly: Implement suggestions from Mention Boost™ to make it easy for AI-driven engines to read and understand your content.
Customize your blog layout with CSS: The Custom CSS section inside your DropInBlog account is where you can apply your own CSS and change your blog’s appearance – from fonts and colors to animations and layouts.
Publish a blog on your domain or Carrd’s free subdomain: By embedding a blog on your Carrd site, your blog and your site will have the same domain.
FAQs
Will Carrd sites rank well on Google in 2026?
Yes, Carrd sites have great potential to rank well on Google, as the site builder offers decent SEO features. Carrd blogs, on the other hand, are trickier to rank, but you can simplify this task by embedding an SEO-friendly blog into your site with DropInBlog.
Can you blog on Carrd?
No, not without a workaround because Carrd doesn’t have built-in blogging functionality. However, you can still add a blog using a third-party service like DropInBlog. Just embed the blog into your Carrd page using a code block element. DropInBlog offers SEO-friendly, fully responsive blogs that integrate seamlessly with Carrd’s minimalist design. For step-by-step instructions, check out our tutorial on how to create a blog on Carrd.
How do you make a Carrd site look professional?
By default, Carrd sites look professional thanks to the platform’s minimalist templates, but you can always add more white space to your design. You should also keep the spacing consistent, and add images to support your text – not decorate it.
How can I make a blog work on Carrd?
The simplest way to make a blog work on Carrd is with DropInBlog – a professional blogging platform. It lets you add a full-featured blog to your site. You can easily add and manage your blog content, as well as optimize it for traditional and AI-based searches.
A more challenging approach to making your blog work on Carrd is with the platform’s site-building blocks. Since Carrd lacks a blogging engine, creating a blog with the tools it offers comes with SEO and scalability issues. And while you can make your blog work with this approach, it may not be the best one.
Is DropInBlog SEO optimized?
Yes, DropInBlog has built-in tools to help your blog rank in SERPs: the SEO Analyzer and Mention Boost™. These tools let you optimize your content for target keywords and structure it in a way AI search engines love.
Can I use Carrd with custom domains + blog?
Yes, you can use a custom domain for your Carrd site and blog. For blogging on Carrd, you can use the platform’s built-in features to mimic a blog or embed a blog with DropInBlog. The latter option is suitable if blogging plays a big part in your content marketing strategy.
The End Result – Our Published Carrd Site
And voila! This is what I created in this Carrd tutorial in such a short time without doing all that much customization:
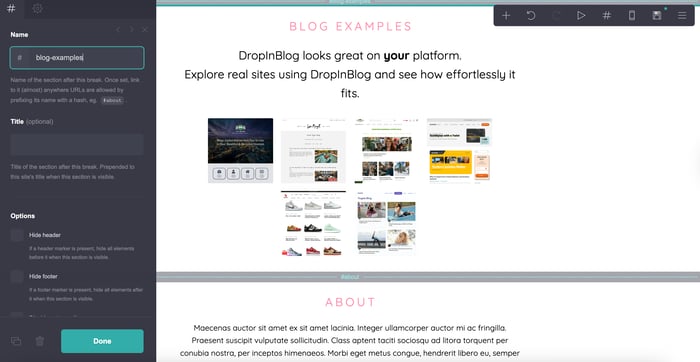
This is the “Blog Examples” section, acting as a separate page:
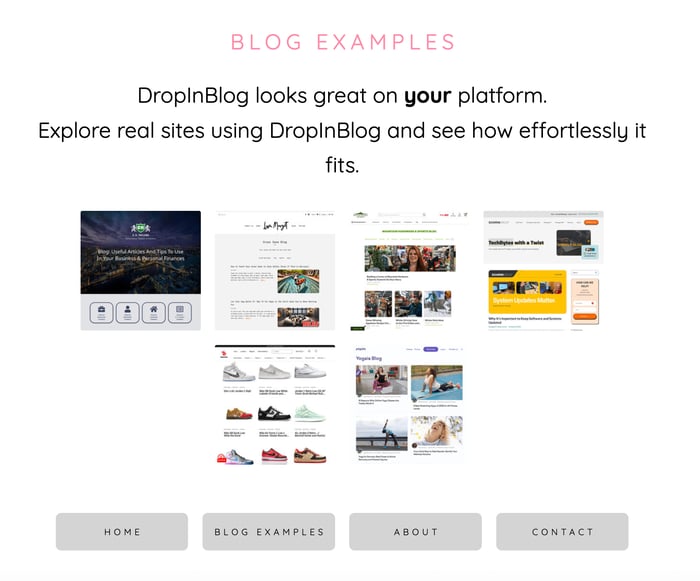
You can add more pictures or more sections if you find it necessary.
Below is the “About” section.
And below it is the “Contact” section.
But why stop there? Add more social media icons and more buttons, and play with a wider range of colors if you have an eye for design.
There are some wonderful-looking sites out there created with Carrd. Don’t let the price and seemingly limited options fool you. In the right hands, Carrd can be an excellent tool.
So, follow our Carrd tutorial and try it out, experiment with your site or page design, and let your imagination guide you. You’ll inevitably end up doing some cool things. And if you decide to start blogging with DropInBlog, drop us a line! We’re always here to help. 😊