
301 redirects take visitors and search engines from one website URL to another. In this guide, we’ll tell you a bit more about these redirects, when to use them, and how they impact your site’s SEO.
We’ll also show you how to manage your blog redirects from your DropInBlog account.
Without further ado, let’s begin!
Table of Contents
What Is a 301 Redirect?
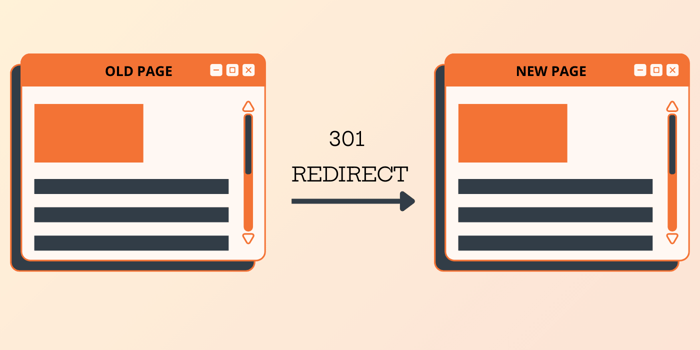
A 301 redirect is your way of telling site visitors and search engines that a page on your website has permanently changed its location. You also need to give them the new location of your web page to prevent them from visiting broken page links.
To better understand how 301 redirects work, we’ll share a user’s journey from the moment they open their web browser to the moment they open the requested website page – with and without redirects.
User’s Journey From an Address Bar to a Web Page
When you type a website address into your browser, it sends a request to that site’s server – the place where all the website’s data lives. If the page is working properly, the server replies with a “200 OK” message, which just means: “Everything’s good, here’s the page.” Your browser then loads that page for you to see.
The 301 redirect comes into play when the page you want to visit changes its URL.
When this happens, the website server will tell your browser that the page you want to visit has been moved to a different URL. It will also show a 301 status code, which means: “the page is no longer at this URL,” and send your browser to the new URL. After visiting the new URL, your browser will load the page.
The 301 status code won’t show up on your side, though. The communication between your web browser and website servers happens behind the scenes. As a regular user, you only see the results of that communication, which is the content of the webpage you were looking for.
By creating 301 redirects, you’re helping your site visitors land on the right page instead of showing them an error page. You’re also informing search engines about page movements on your site, which is a good SEO practice.
When Should You Use 301 Redirects?
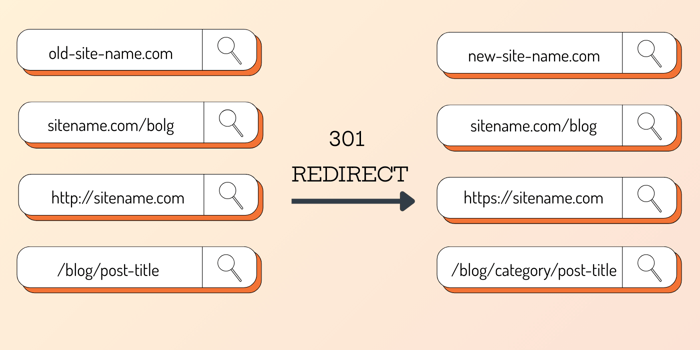
Some of the most common scenarios in which you should set up a 301 redirect include:
Changing a domain name
Altering a URL slug, i.e.,
www.sitename.com/blogSwitching the HTTP version of your site to HTTPS
Changing site structure
How Do 301 Redirects Affect Your Site’s SEO?
When done properly, 301 redirects can pass link equity (link juice) from the source page (the old page) to the target page (the new page). Why is link equity important? As one of the ranking factors, link equity can help you preserve the link value of redirected pages.
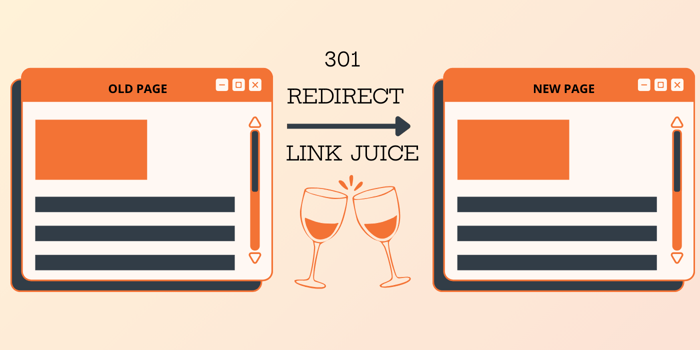
So, if your old page had a strong backlink profile and links from high-authority websites, its placement in search engine results pages (SERPs) was probably high. To preserve the SEO value of this page, you need a 301 redirect to tell search engines that you’ve permanently moved this page to another location and that your new page is just as valuable as your old page.
The amount of link equity that will be passed on to the new page depends on several factors, including your old page’s rankings, the strength of its backlink profile, and its relevance to the new page.

When not done properly, 301 redirects can negatively impact your site’s SEO. An example of not using 301 redirects correctly is using them to redirect an old page to an unrelated page on your site. Another one is using a 302 redirect, which is temporary, instead of a 301 redirect.
When search engines stumble upon these new pages, they’ll be confused, which can result in indexability issues. Not using 301 redirects properly creates a bad user experience, which can also lead to a drop in your site’s rankings.
301 Redirect Best Practices
Before we show you how to use DropInBlog’s Redirects feature, we’ll give you a brief overview of 301 redirects best practices.
What you should do:
Remove pages with a 301 status code from your sitemap: doing so will help you send a clear message to search engines that your old page has been permanently moved to a new URL.
Manage redirect chains: Page A redirects users to Page B, and Page B redirects them to Page C. To ensure faster loading times and a good user experience, fix the 301 redirect to go from Page A to Page C.
Fix redirect loops: Redirect loops don’t lead anywhere. Page A redirects users to Page B, and Page B redirects them back to Page A. As a result, your site visitors are stuck in a loop without landing on any page, downgrading their experience.
Create 301 redirects for relevant pages only: If you deleted a blog post but don’t have the right replacement for it, avoid redirecting your visitors to irrelevant pages on your site.
Manage Your Blog’s 301 Redirects with DropInBlog
We’ve saved the best for last – DropInBlog’s Redirects feature.
You can access the Redirects feature if you’ve set up Cloudflare or added DropInBlog to your Shopify store. Blogs created on HTML/JavaScript websites won’t see this section in the app settings unless their DropInBlog account is connected with Cloudflare.
To access this feature, open the Settings page from your DropInBlog admin panel. At the bottom of the page, you’ll find the Redirects section.
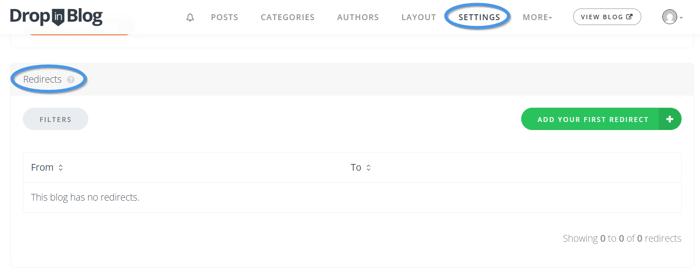
From here, you can add a new redirect by clicking the Add Redirect button.
Doing so will open a pop-up window where you should add the old URL (From URL) and the URL of the new page you want to send your visitors to (To URL).
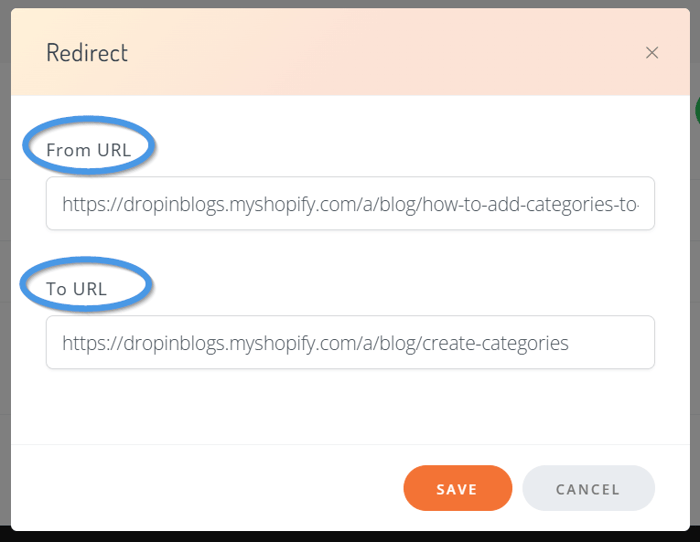
Check if the source and destination URLs are correct, and click on the Save button to apply the changes.
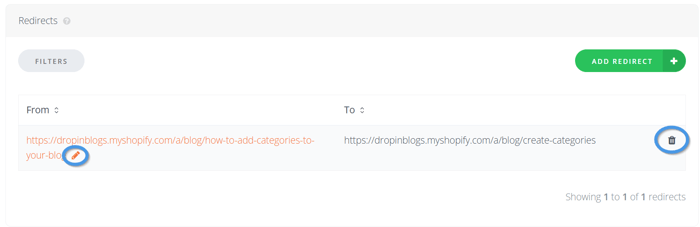
To make changes to your redirects, hover over the redirect you want to edit, and when you see a pencil icon, click on it.
After you create a redirect, you’ll also see a trash icon, which allows you to delete it permanently.
Another thing you’ll notice in the Redirects section is the Filters button.
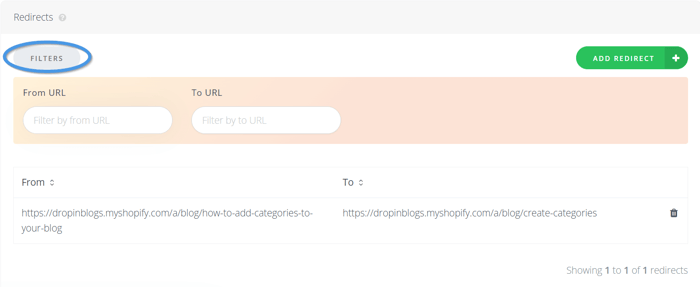
This button will allow you to sort your redirects by their source and destination URLs.
That’s everything you need to manage your blog redirects from within your DropInBlog account.
301 Redirects in a Nutshell
301 redirects tell users and search engines that a page with this status code has been moved to a new location. If you use them properly, you can transfer the SEO value from one page to another and ensure your site visitors land on the right page.
If you’ve set up your blog with DropInBlog, you can now manage all your blog redirects in one place. All of this is super easy, but if you have any questions, feel free to message us.
Happy blogging!


