Key Takeaways
- The best way to add a blog to your Duda site is with DropInBlog!
- The free trial and quick setup lets you to test it in a few minutes.
- DropInBlog has different pricing plans for individuals and teams.
In this guide, we’ll show you how to add a fully functioning blog to your Duda website by copying and pasting just a few lines of code.
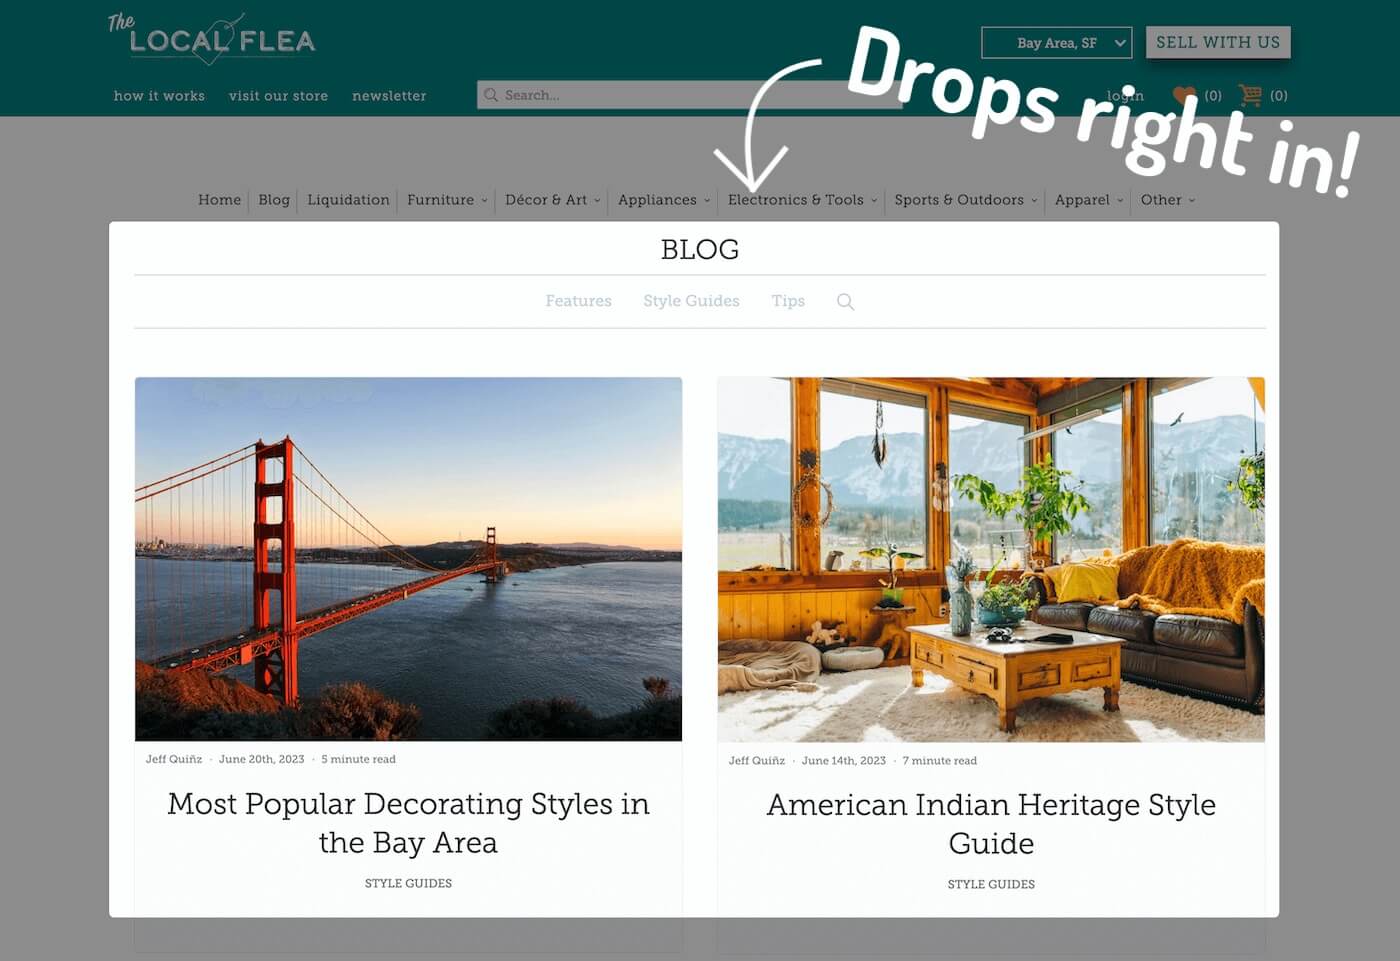
By using DropInBlog with your existing Duda website, you effectively extract the blog from the website. Your content creators can focus on blogging, and you can focus on the website structure and layout.
Table of Contents
Prerequisites
To get started, you’ll need to create a DropInBlog account, which you can easily do with a free trial. You’ll also need an existing Duda website.
Creating a Blog Page
Navigate to the Duda website builder, select Pages in the sidebar, and hit the New Page button to create a new blank page.
Alternatively, you can duplicate an existing page using the individual page settings. This saves you from having to create the whole page from scratch.
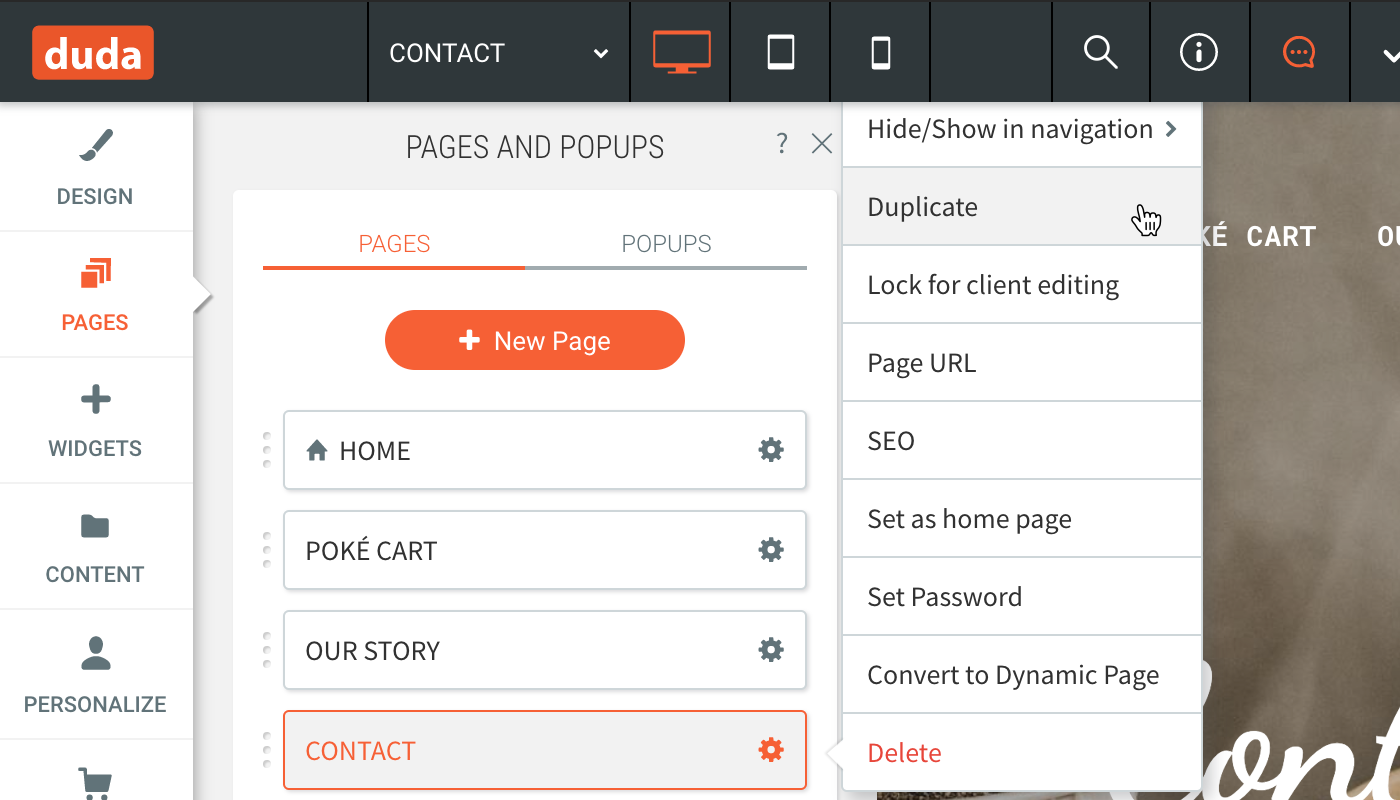
Name your newly created page; I’m going with the imaginative name of “Blog.”
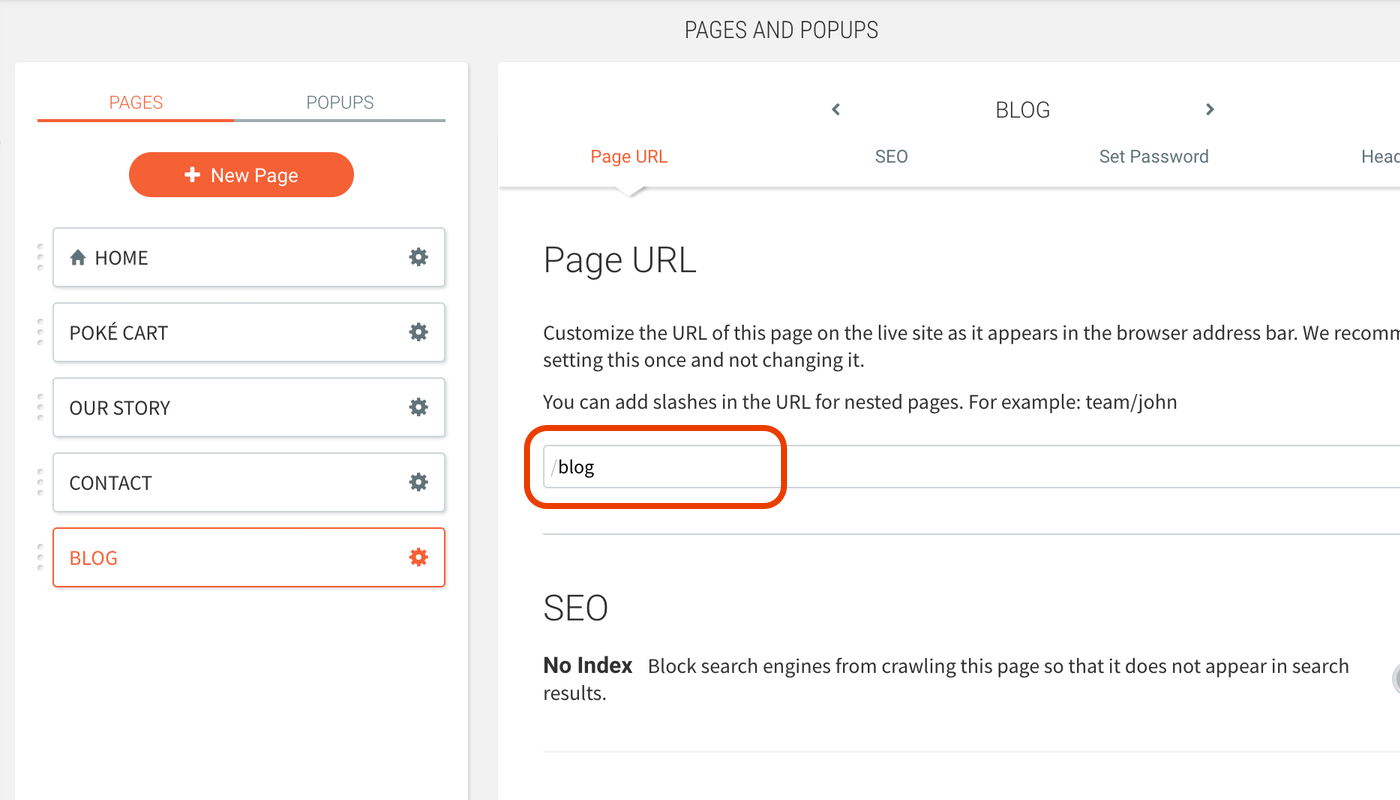
You’ll also need to set a page URL. You can do this by hitting the cog icon on the page item in the Pages sidebar and typing a value for the field titled Page URL. Again, I’m going to set my page URL to “blog.”
Connecting Your Accounts & Integrating the Blog Posts
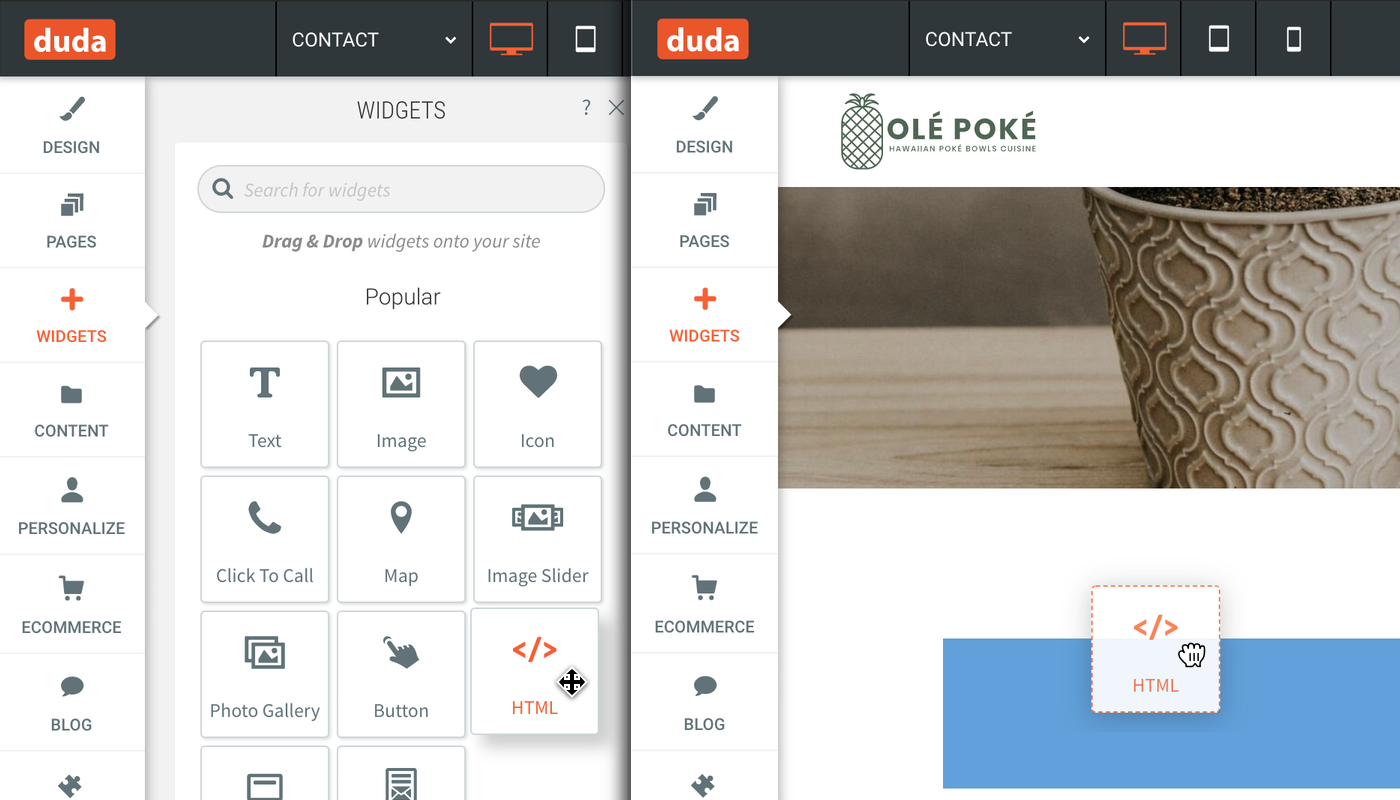
Open the newly created blog page in the Duda builder and hit Widgets in the main sidebar. Locate the HTML widget and drag it onto your newly created page. Once the widget is dropped, the HTML Content editing area should automatically open.
Next, open a new browser window and head on over to your DropInBlog account. Select Code & Layout from the main navigation. In the Blog Code steps, copy the code shown in Step 1 and Step 2, which looks something like this:
Step 1 Code:
<script src="https://io.dropinblog.com/embedjs/XXXXXXXXXXXXXXXXX.js"></script>Step 2 Code:
<div id="dib-posts"></div>Switch back to the Duda website builder and paste this code into the HTML Content text area popup. Click Update to save your changes.
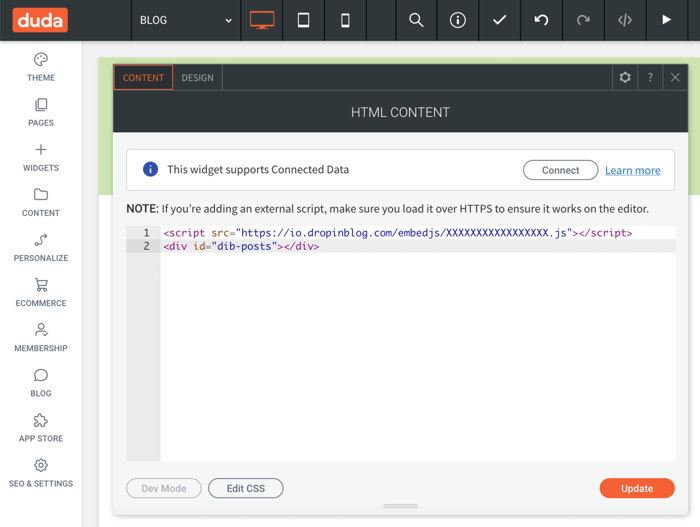
The next steps will be to publish your new page and set the blog page URL in DropInBlog.
Publishing your New Blog
Go ahead now and hit Publish in the top right corner of Duda. After that, Duda will publish your site changes and give you a link to your website. Copy the page address link and head back over to DropInBlog.
From within DropInBlog, select Settings from the main navigation. Locate the Blog URL field and add your full Duda blog page URL. This will be your website domain, followed by your page slug. For example, my site URL and page slug is: http://duda-website.multiscreensite.com/blog.
Make sure to hit Save All Changes in the DropInBlog settings.

Congrats, all your hard work is now complete! It's time to navigate to your new blog page and test out your shiny, new fully-functioning blog! ✨

Tips for using Duda
Your newly created blog will automatically adopt the styling from your website and match your branding. However, you can add custom styles within Duda using another HTML Content widget on the page and add custom CSS. But remember that when using the HTML Content widget, you’ll need to wrap your CSS in style tags like this: <style>…</style>
FAQs
Can I start an SEO-friendly blog on Duda?
Duda does allow you to create and publish your blog posts. However, Duda isn’t going to give you optimal search-engine–optimized content. It simply doesn’t offer enough features without adding plugins or extensions. Luckily, DropinBlog can be easily integrated with your Duda website, and it includes an excellent SEO Analyzer tool.
In Summary
Once your DropInBlog account has been integrated with Duda, there will be no need to use Duda to add new blog posts. You can now log in to DropInBlog to create new posts, and they will be automatically published on your Duda-created website!
If you'd like a hand connecting DropInBlog to your Duda site, please do get in touch. We are more than happy to help out.
Happy blogging!
