

Key Takeaways
- The best way to add a blog to your Teachable site is with DropInBlog!
- The free trial and quick setup lets you to test it in a few minutes.
- DropInBlog has different pricing plans for individuals and teams.
Blogging is one of the most powerful and – at the same time – economical ways to attract new visitors to your site and convert them into students. In this tutorial, we’ll guide you through the simple steps of how to create a blog on Teachable. It’s a quick and easy process, so buckle up and enjoy the ride.
Before we get started, if you'd like to see how DropInBlog looks on a Teachable website, check out our demo site here.
TL;DR: Blogging on Teachable
Teachable doesn't have a native blog engine on any plan. You have three real options:
- Embed DropInBlog via Teachable's App Hub (5-minute setup, blog lives on your Teachable domain, works on all plans including )
- Run a separate blog on a subdomain like blog.yoursite.com (WordPress, Ghost, or Substack, more work, splits your domain authority)
- Publish on an external platform like Medium and link out (fastest to start, but you don't own the SEO).
For most Teachable creators, the App Hub DropInBlog integration is the cleanest path because it keeps blog traffic on your Teachable domain and lets you embed course CTAs directly in posts.
Table of Contents
What Is Teachable, and Can You Blog with It?
Online learning is slowly but surely transforming the modern-day education landscape. There are multiple options – from Udemy and Kajabi to Thinkific and Teachable. However, Teachable is one of the forces driving this revolution.
Teachable enables you to create, sell, and promote online courses and coaching services. Teachable is ideal for starting an education business and building an education empire.
On the one hand, it’s a shame that Teachable doesn’t include a blogging feature considering it can be so valuable. On the other hand, built-in blogs are rarely up to par when it comes to blogging professionally. More often than not, you’ll simply need a more specialized solution.
Even though Teachable doesn't offer a blog feature, you can seamlessly integrate a superior blogging tool like DropInBlog to your Teachable site.
Here, we’ll show you exactly how you can integrate DropInBlog with Teachable. Starting your blogging journey takes only a few minutes, a passion for learning new skills, and the ability to copy and paste a couple of lines of code. Easy enough, right?
Along the way, you’ll also learn about embed codes and how they can extend the capacities of your site.
Prerequisites
DropInBlog installs from Teachable's App Hub, which is available on all current Teachable plans. Teachable's 2026 plan structure and how they affect the DropInBlog integration:
Starter ($29/mo annual, $39/mo monthly): App Hub access with 1 third-party integration slot. DropInBlog fits, but takes your only integration slot.
Builder ($69/mo annual, $89/mo monthly): 3 integration slots, 0% transaction fee. Recommended minimum for creators using multiple apps.
Growth ($139/mo annual, $189/mo monthly): 5 integration slots, free subtitles and translations, up to 50 products.
Advanced ($309/mo annual, $399/mo monthly): Unlimited integrations, up to 100 products.
Note: Teachable no longer offers a free plan. All plans include a 7-day free trial and a 30-day money-back guarantee.
For your DropInBlog account, there aren't any special requirements. The DropInBlog free trial covers full setup and testing before you subscribe.
Why Course Creators Choose DropInBlog on Teachable
DropInBlog has three practical advantages for course creators:
The blog lives on your Teachable domain. Unlike a WordPress subdomain or a Medium account, DropInBlog embeds inside your Teachable site. Readers don't leave your domain to read your posts, which matters both for SEO (domain authority stays consolidated) and for user experience (the reader journey doesn't fragment across two platforms).
You can embed course CTAs directly in posts. Blog posts include enrollment buttons, course previews, and lead-magnet capture forms, turning blog readers into course customers without redirecting them anywhere.
Teachable officially documents the integration. DropInBlog is one of the third-party apps Teachable specifically supports in its Help Center. That means the integration is stable, unlikely to break with Teachable updates, and Teachable's own support can help you troubleshoot.
For creators who want blog content driving new organic enrollments, DropInBlog is the option that fills that gap most directly.
How to Set Up a Blog on Teachable
Step 1: Integrate the Teachable Site with the DropInBlog App
To begin, you need to integrate the DropInBlog app with your Teachable account.
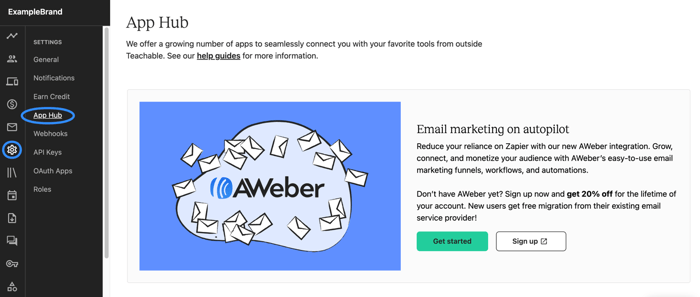
First, log in to your Teachable account. Once logged in, navigate to the left sidebar and click on the Settings icon. Following that, select App Hub to proceed.
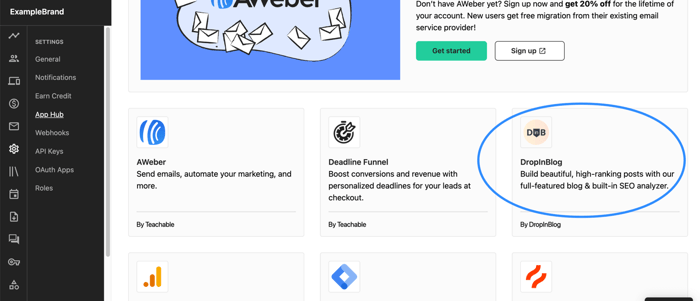
Next, scroll down within the App Hub and look for the DropInBlog app.
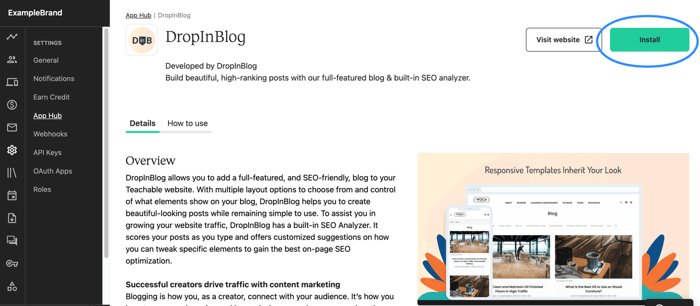
Once you've located the DropInBlog app, click Install. After installation, a DropInBlog account will be automatically created for you.
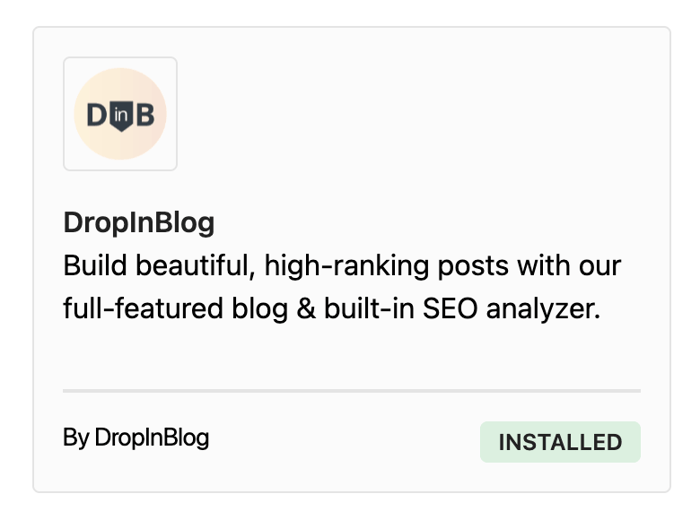
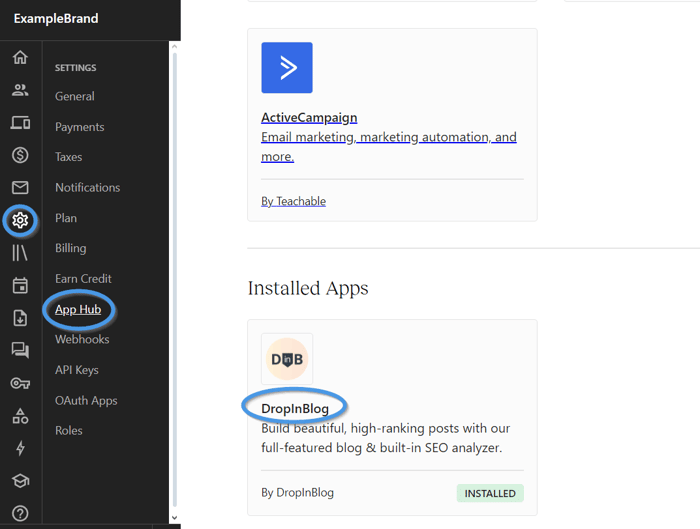
To confirm that the DropInBlog app has been successfully installed, return to Settings, then navigate to the App Hub and locate the DropInBlog app, which will now be marked as INSTALLED.
Step 2: Create a Blog Page
Following the successful integration of the DropInBlog app with your Teachable account, the next step is to create a dedicated Blog page. This page will serve as the showcase for displaying your blog posts.
Navigate to Site and then to Pages within your Teachable dashboard. Once there, click on Add New Page to proceed.
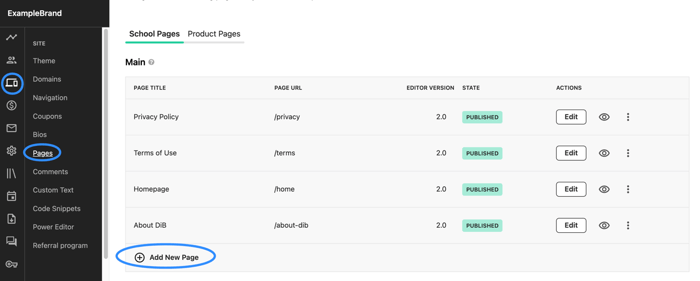
When you click on Add New Page, a new window will pop up, allowing you to customize your new page.
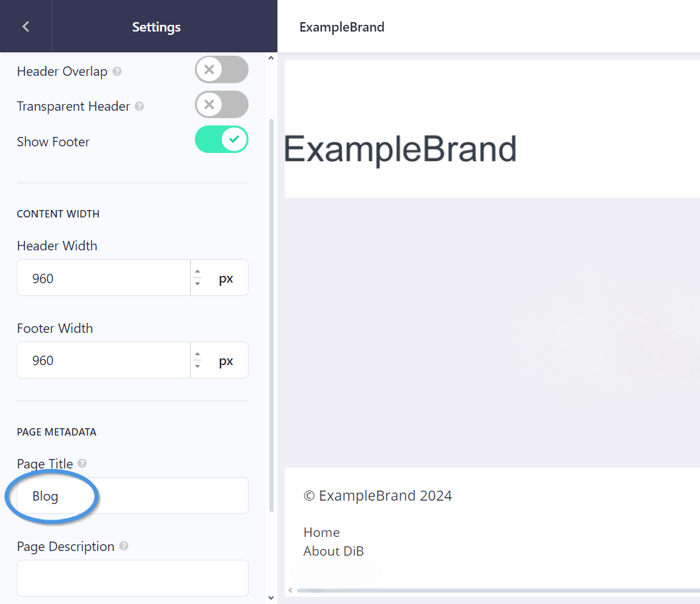
The next step is to give this page a title. Since it's intended for blogging purposes, we'll name it Blog. To do this, go to the Settings section, scroll down, and in the Page Title field enter Blog.
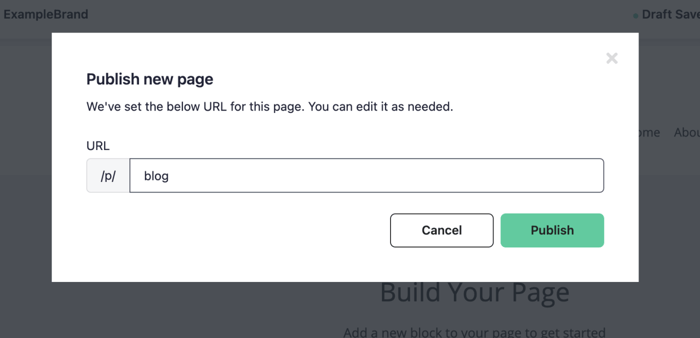
The next step is to publish your page. Click on the Publish button, which is located at the top right and is highlighted in green. A pop-up window will then appear, prompting you to set the page URL. Since the title of the page is "Blog" it's a good practice to set the URL to blog for consistency.
Step 3: Add the DropInBlog App to the Blog Page
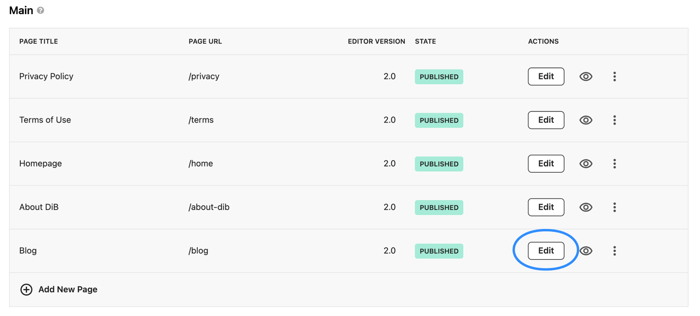
In this step, we'll be adding our DropInBlog posts to the blog page. From your Teachable dashboard, click the Edit icon next to your blog page.
In the left sidebar, you'll find the option Add New Block. Click on it, scroll down to the Apps section, and there you'll see the DropInBlog app.
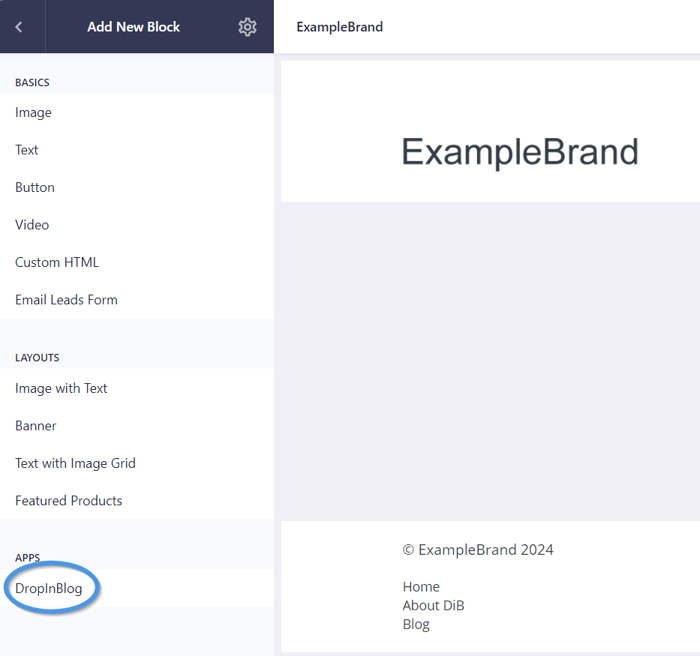
Click on the DropInBlog app, and then select Add. Once you do this, posts from your DropInBlog account will automatically be added to your blog page.
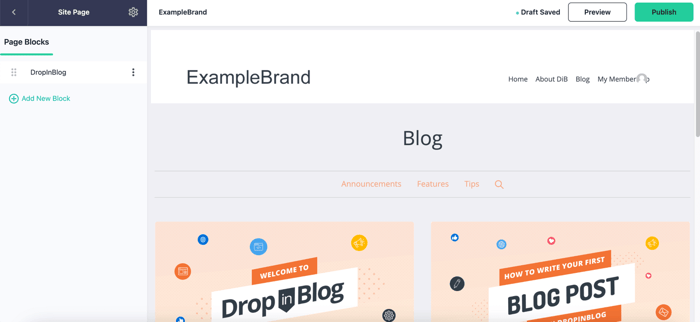
After you’ve added the block, click Publish and then Preview to see the changes you made.

Pretty cool, right?
Before we move on to the next step, here’s what you should know about managing your content.
After adding the DropInBlog app to the blog page you created on Teachable, you’ll manage all your blog content from your DropInBlog account. So, whenever you want to create a new blog post, edit the existing ones, or simply make some design customizations, you’ll need to do that from your DropInBlog admin dashboard.
The beautiful part is that all the content you add from your DropInBlog account will automatically show up on your Teachable site.
To access your DropInBlog account from Teachable, simply locate the Settings tab in the left-hand menu, then select App Hub.
Find the DropInBlog app, click on it, and on the new page that opens, choose the Manage account option.
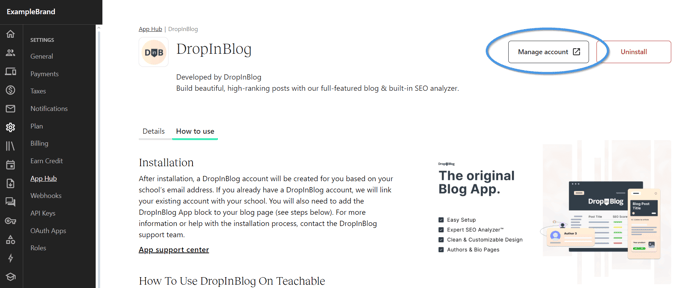
Selecting this option will take you to your DropInBlog admin panel, from where you can manage your content.
Step 4: Add a Link to the Blog Page in the Menu
Another important step, which is also recommended for SEO purposes, is to add a link to your Blog page in the navigational menu.
To do this, go to Site and then select Navigation. Next, click on Add Link.
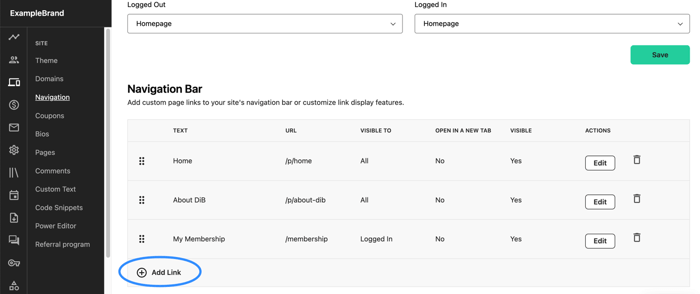
A new pop-up window will appear where you can name your menu item. Enter the name in the Text field; we'll call it Blog. For the Link Destination, click on the dropdown menu and select Blog.
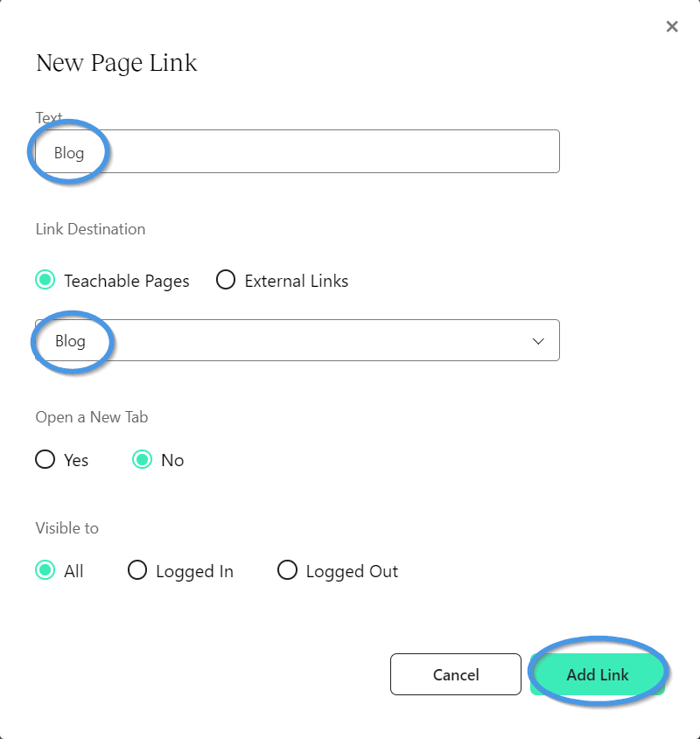
After clicking on Add Link, a new menu item that links to the Blog page will be added to your navigation menu.
Finally, make sure to click on Save to ensure that these changes are saved.
Design Customization
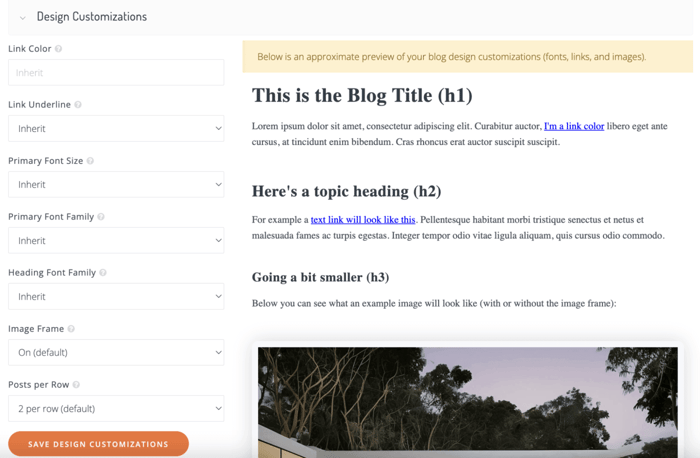
With DropInBlog, you have the freedom to tweak several design elements to your liking – which, again, you’ll do from your DropInBlog dashboard.
These include adjusting the link color and underline options for better visibility, selecting the primary font and heading font family for a cohesive look, adjusting the image frame settings, and setting the number of posts per row for a neat layout.
DropInBlog offers a preview feature, allowing you to see and fine-tune these customizations in real-time, ensuring your blog not only reads well but also looks stunning.
To access Design Customizations in DropInBlog, go to the Code & Layout section, scroll down, and click on Advanced. Here, you can personalize various design elements of your blog.
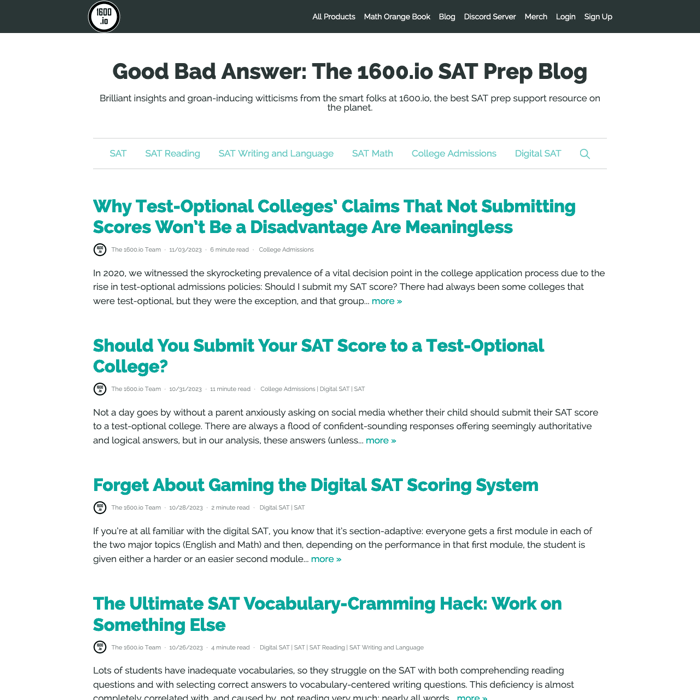
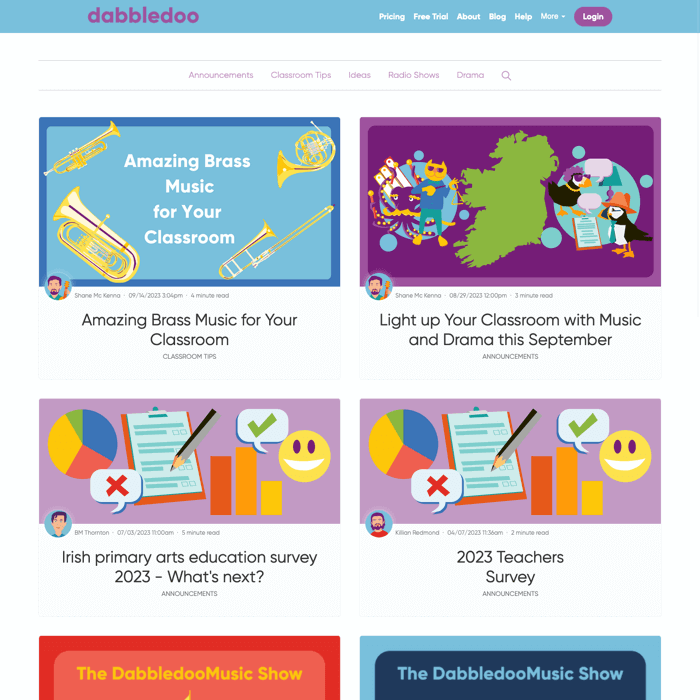
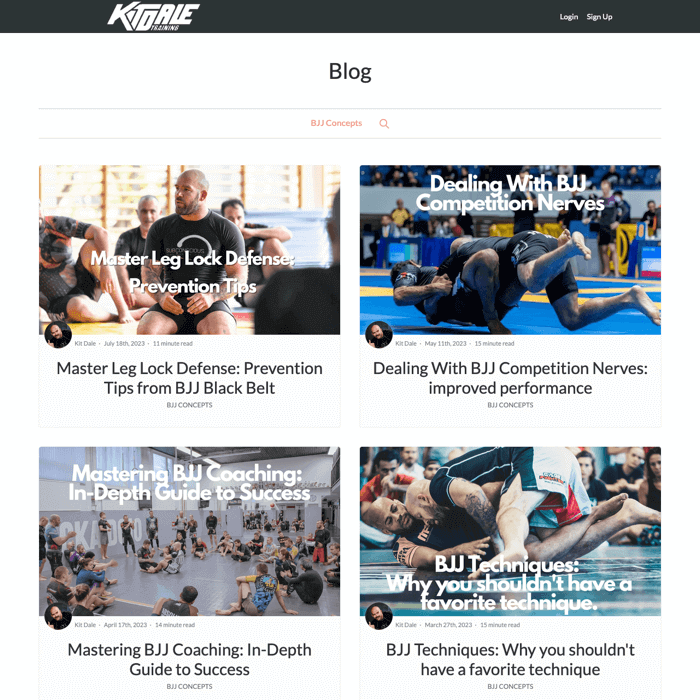
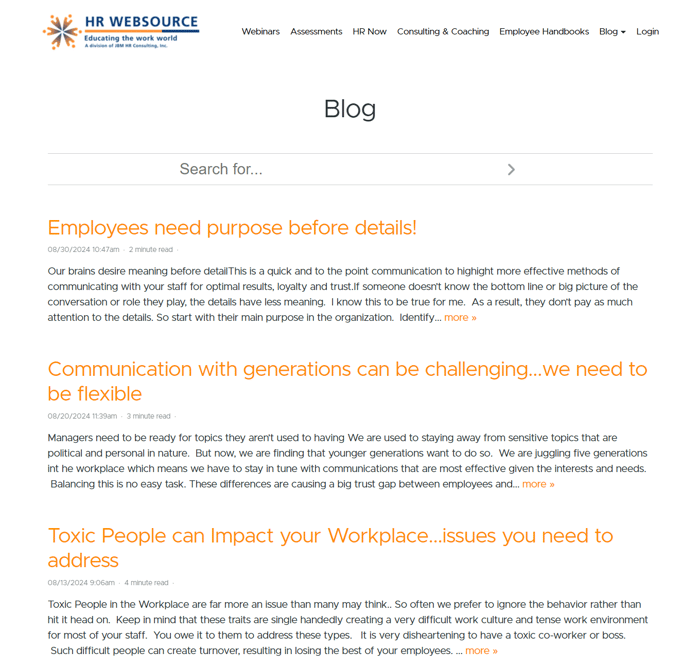
Teachable Blog Examples
Take a look at some Teachable blogs below and discover the capabilities of DropInBlog for yourself.
FAQs
Does Teachable have a built-in blog?
No. Teachable has no native blog engine on any plan. Creators who want a blog on their Teachable site use third-party tools; DropInBlog is the most common option because Teachable officially documents the integration in their Help Center.
How can I easily create a blog on Teachable?
Teachable doesn' have a built-in blogging feature, but you certainly aren't left wanting. You can very easily create a blog on your Teachable site by integrating a third-party platform like DropInBlog.
Can I integrate DropInBlog with Teachable?
Of course - Teachable allows integration with various third-party apps, including DropInBlog. Integrating DropInBlog with Teachable is simple and doesn't require adding or editing any code or HTML.
Final Thoughts
As you’ve just found out, you don’t need to have a ton of coding skills to integrate DropInBlog into Teachable, and the process is as easy as it comes. In case you do need some help or you have any questions, please reach out to us. The team at DropInBlog is always willing to help.


